As I mentioned earlier this week, I’ve recently made some fairly significant changes to my diet.
Scratch that. The “I quit sugar” thing qualifies more in the CRAZY, RADICAL category for me.
I’ve always eaten fairly healthfully, having grown up with a mom who valued healthy living and taught us to love whole grains, real butter, and big salads. (Truth: we basically never bought white bread unless we were making croutons or feeding the ducks and I don’t recall a time we ever bought margarine. Yes, she was pretty hard core when it came to health!)
My husband wasn’t so keen on health food when we got married. In fact, he was more keen on McDonald’s and Vanilla Coke. ��
During our lean law school years, I just did the best I could do with the small budget we had while also making sure the food I cooked was stuff Jesse would actually eat. We didn’t eat terribly unhealthy, but I knew it could be improved upon.
As our financial situation bettered and my husband started becoming more interested in fitness, we’ve slowly made small changes in our diet. First, we eliminated artificial dyes. Next, it was corn syrup. Then, we stopped cooking with anything but olive oil, coconut oil, and butter. And then we stopped buying bleached flour and refined sugar.
This journey has been years in the making, but as we’ve made slow and steady changes, it’s not felt too drastic or difficult. So I think that’s why eliminating sugar and most gluten from my diet didn’t feel as CRAZY, RADICAL as I thought it would.
Yes, I have salivated as I’ve passed the doughnut shop and I have given in and eaten dessert a few times in the past three months, but for the most part, switching the way I eat hasn’t been painful.
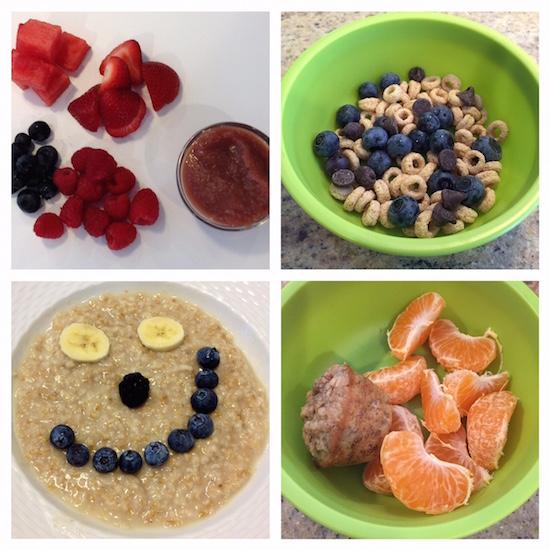
You know what else? I’ve noticed that once I stripped out sugar and processed stuff and ate real, fresh foods, some cool things have happened. For instance:
- I savor my food more.
- I’m getting fewer headaches.
- I’m struggling less with my sinuses and allergies.
- I’ve lost a few pounds that had crept on in the last year.
- I’ve seen an improvement in my skin issues.
- I feel more energetic.
- I’ve stopped craving empty carbs and sugar (well, most of the time!).
- I need less sleep.
- I notice flavors that I never paid attention to before.
- My nails are stronger and can actually grow without breaking (well, it probably helps that I’ve mostly stopped biting them, too!)
- And even if I go a few days without getting enough sleep, I’m not at all as worn down as I would have been six months ago.
Yes, my experiment in dietary changes has paid off in much bigger dividends than I ever imagined. And the unexpected results are making me think this is going to be a lifelong lifestyle change not just a temporary experiment!

All this to say, I was really excited to read 100 Days of Real Food by Lisa Leake. I’ve watched her grow her blog over the past few years and have been so inspired by her family.
As I expected I loved the book. Here were 10 reasons I especially found it helpful:
1. It Feels Doable & Realistic
Truth be told, I was leery of starting this book because I was afraid I was going to be barraged with a lot of new information on why we needed to majorly overhaul our eating choices. Instead of guilt, I found the book dripping with grace… encouraging you to do the best you can, to not stress over treats and occasional cheats, and to figure out what works best for your family.
2. It Is Honest
Lisa readily admits that she tried making homemade versions of things like ketchup and mayo and didn’t like them at all. Instead, they’ve just chosen to not eat them very often (she says they eat mayo about once a month). I loved her honesty throughout the book.
3. It Gives You Step-By-Step Plans & Shopping Lists
If the idea of switching to more real foods feels daunting, you’ll love the step-by-step suggestions of how to make gradual changes that this book offers. You’ll probably also love that there are menu plans and shopping lists to help you get started, too.

4. It’s Packed With Real-Life Advice
Lisa doesn’t hold herself up as someone who has it all figured out. She’s right there learning and experimenting with you. I loved the pictures of her family sprinkled throughout the book, as well as her examples from their family on what worked and didn’t work.
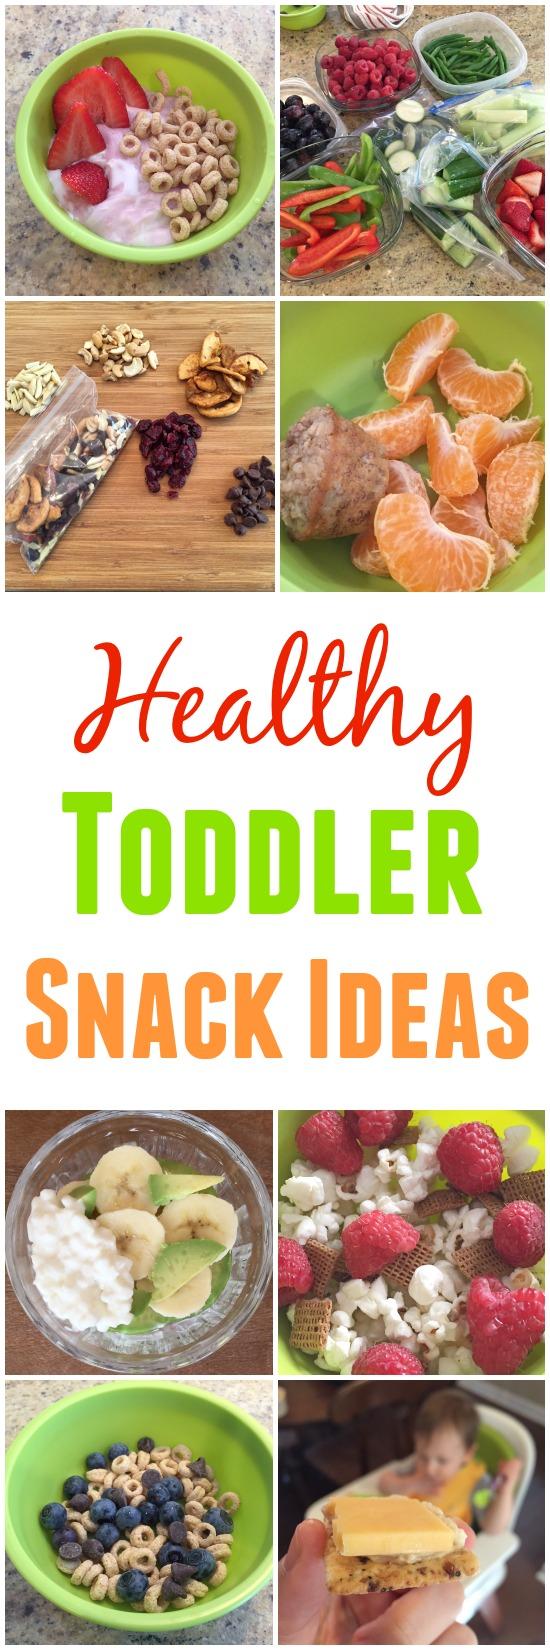
5. It Has Loads of Lunchbox Ideas
If you pack a lot of lunches, you’ll find the lunchbox recipes, tips, and suggestions very helpful. I loved that this was a big part of the book, as I think probably this is an area that many families could use a lot of inspiration in — especially if you’re trying to pack healthful and wholesome lunches.
6. It Addresses the Inevitable Struggles
Making lifestyle changes is always a challenge and this book recognizes that from the get-go. If you’re feeling hesitant about taking the plunge or wondering if it will really work for your family, you’ll get a lot of encouragement here in your journey.
7. It Provides Lots of Delicious-Looking Recipes
The recipes are very down-to-earth, don’t have a lot of weird ingredients, and almost every single one of them looked very yummy. Score!

8. It Has Great Photos In It
If you’re going to write a book with lots of recipes, full-color photography is one of the best assets for your book. And 100 Days of Real Food does a fantastic job when it comes to photography. Not only is the food photography well done, but the pictures of real-life stuff make the book seem to come alive and make it more relatable.
9. It Shares Creative Tips on Dealing With Picky Eaters
One of the biggest fears a lot of parents might have with the concept of eating more real foods is that your children and spouse won’t be on board with it. This book spends a good amount of time giving you suggestions and ideas for how to address the picky and reluctant eaters.
10. It Gives Encouragement For How to Eat Well on a Budget
And finally, I loved that 100 Days of Real Food addresses how to eat well on a budget. Now, mind you, switching to more real foods is almost guaranteed to cause some increase in your budget. But Lisa encourages you that it doesn’t have to be a dramatic increase.
All in all, I found 100 Days of Real Food to be a very valuable book. I’m eager to try out some of the recipes and have a feeling I will be referring to it for my own family over and over again.
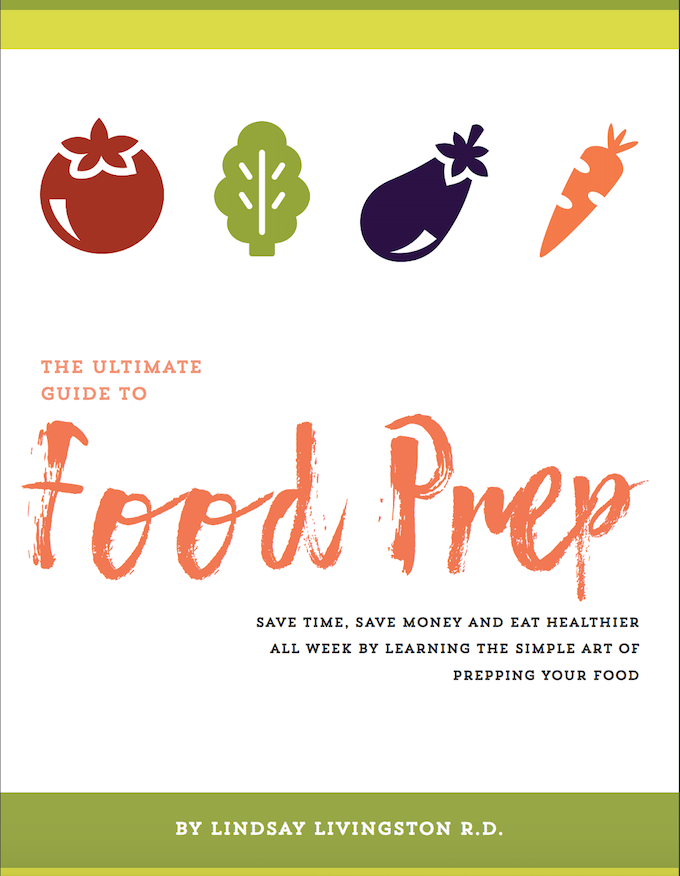
Want Step-By-Step Help To Start Eating Healthier?
Looking for more ideas, practical tips, recipes, and step-by-step help to live a healthy lifestyle? Through December 30, 2014 only, you can get The Ultimate Healthy Living Bundle for just $29.97. This Bundle is packed with ebooks, e-courses, and some cool free bonuses.
Here’s a sampling of what you’ll get for just $29.97:
And much, much more! See all the contents of this bundle here (it’s over $1,000 value!).
P.S. Lisa just emailed me today to let me know that she just found out that her book hit the New York Times list and will debut in the #2 spot for this week! That’s INCREDIBLE and I am just so very thrilled for her — especially because it makes me so happy to see a fellow blogger’s success!
Subscribe for free email updates from Money Saving Mom® and get my Guide to Freezer Cooking for free!
Original article and pictures take moneysavingmom.com site