Hey there! I'm Jessica. I think that motherhood should be savored, like a good piece of chocolate. But sometimes it feels like more duty than delight. Am I right? I'm working to change that. Read more about me here and this blog here.
Looking for freezer meals kids love? I’ve got you covered. These freezer meals will please the kids AND save you time and money.
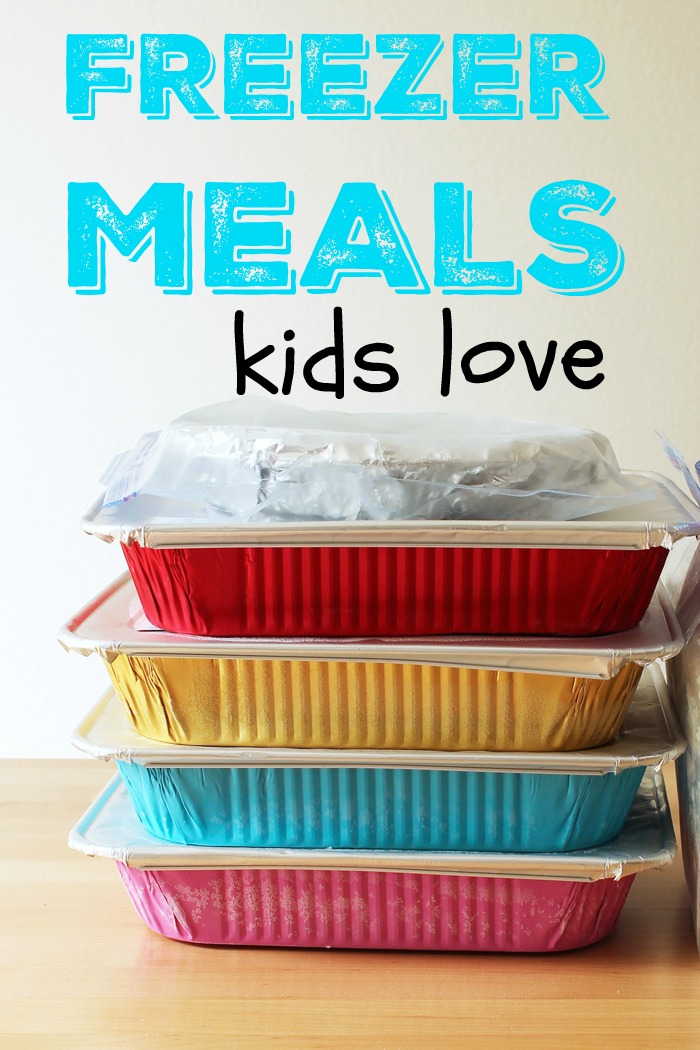
I’ve been making freezer meals since before my first child was born. This spring makes it 19 years that I’ve been making meals to freeze and enjoy later. It’s totally saved my bacon on a number of occasions.
Last month, while I was doing a Whole 30, I was never so happy as to pull a meal from the freezer that I knew the family would love while I cooked something different for myself. On date night, it’s so nice to hand my son a casserole of mac and cheese and walk away without any worry about what the kids will eat. It was so fun last week to see a pic of my brother’s kids’ smiling faces as they enjoyed enchiladas we sent home with them for the freezer.
Freezer meals can make the whole family happy, particularly if you make foods you know your kids enjoy. Today I’m sharing some of my favorite sure-fire winning freezer meals. The kids are always thrilled when I pull these out of the freezer.
May they earn you Parent of the Year, too!
Freezer Meals Kids Love:
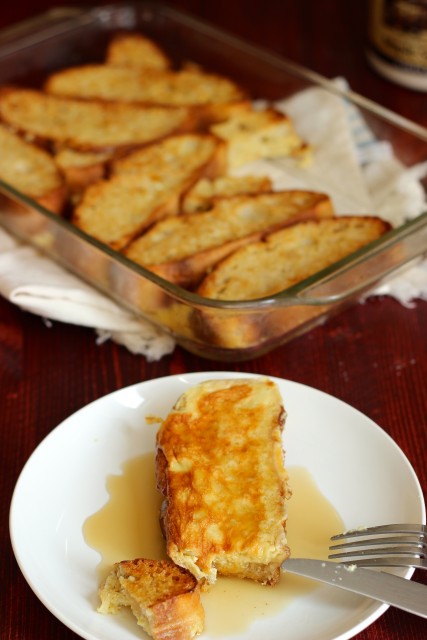
Buttered Maple French Toast Casserole
Yes, freezer meals work for breakfast too! This Buttered Maple French Toast Casserole is a snap to make, and it tastes delicious. Just prep, freeze, and thaw before baking.
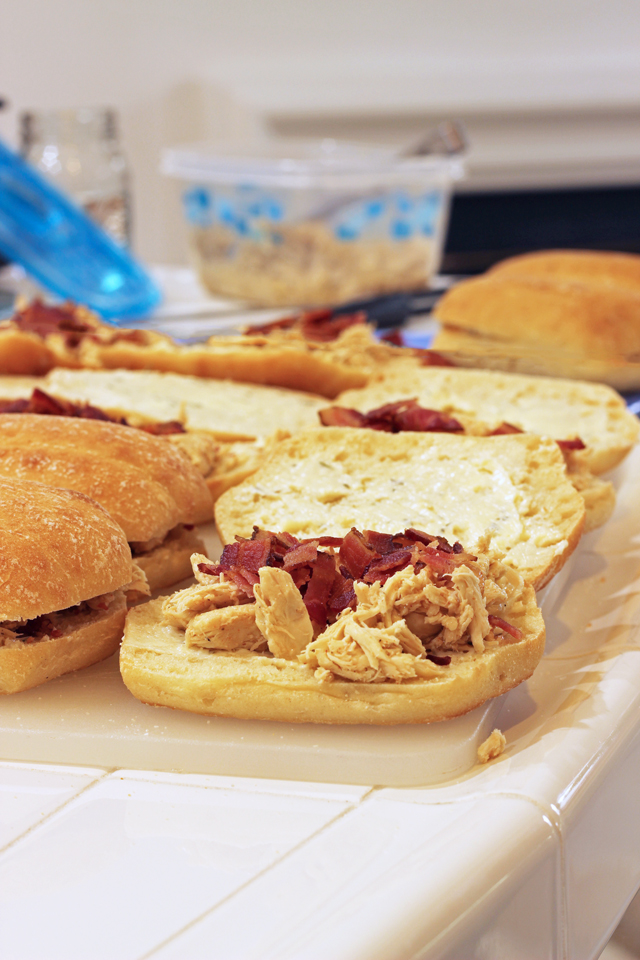
Chicken Bacon Subs
These Chicken Bacon Subs have been in my freezer cooking repertoire for years. Everyone loves them. I like to make these on small ciabatta rolls and wrap them individually in foil. I’ve found that they reheat really well in the slow cooker.
Lawnmower Taco
We’ve dubbed this taco casserole Lawnmower Taco after one of our children balked at eating it for dinner. FishPapa cajoled him into taking a bite, “What do you mean you don’t like it? You love tacos. This is what happens when I run over tacos with the lawnmower.” FishBoy liked it, and it’s been a family favorite for years.
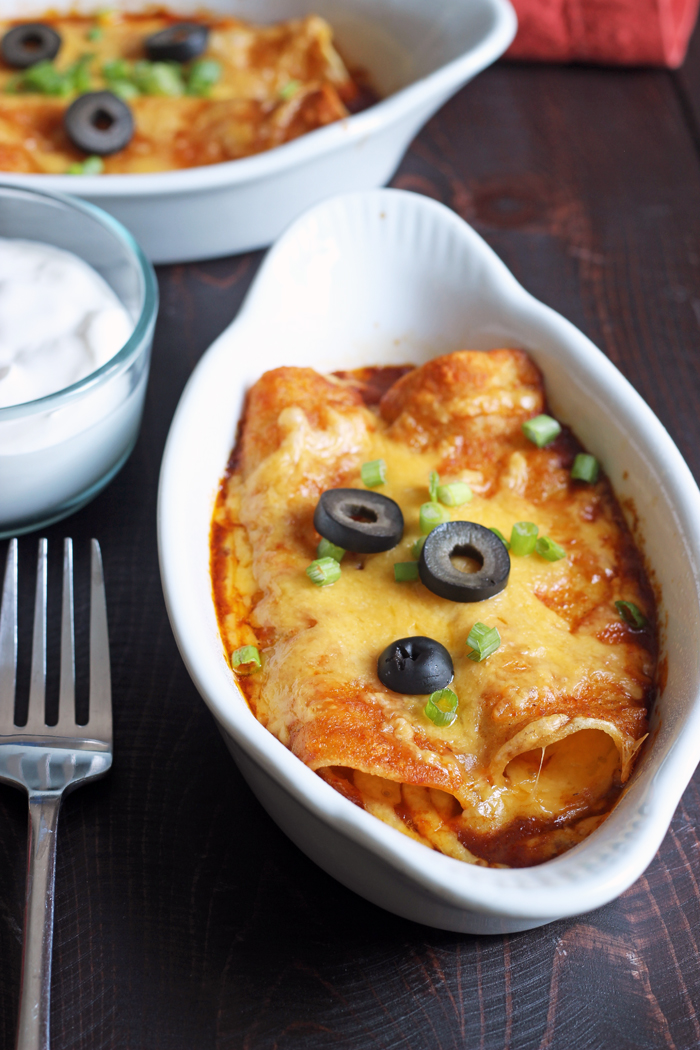
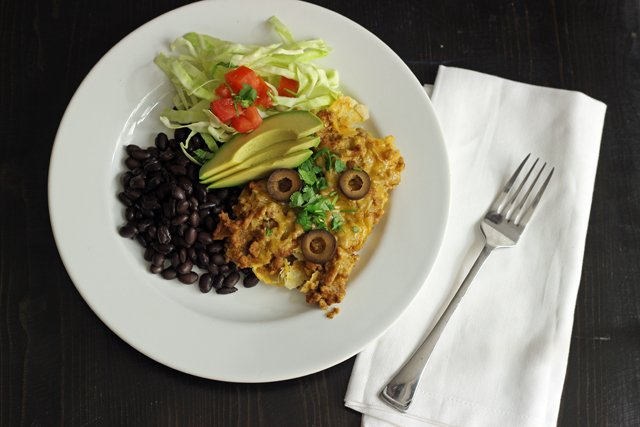
Cheese Enchiladas
Cheese Enchiladas are quick and easy to prepare, but they taste like something special. This recipe makes two pans — perfect to eat one for dinner and freeze another for later use.
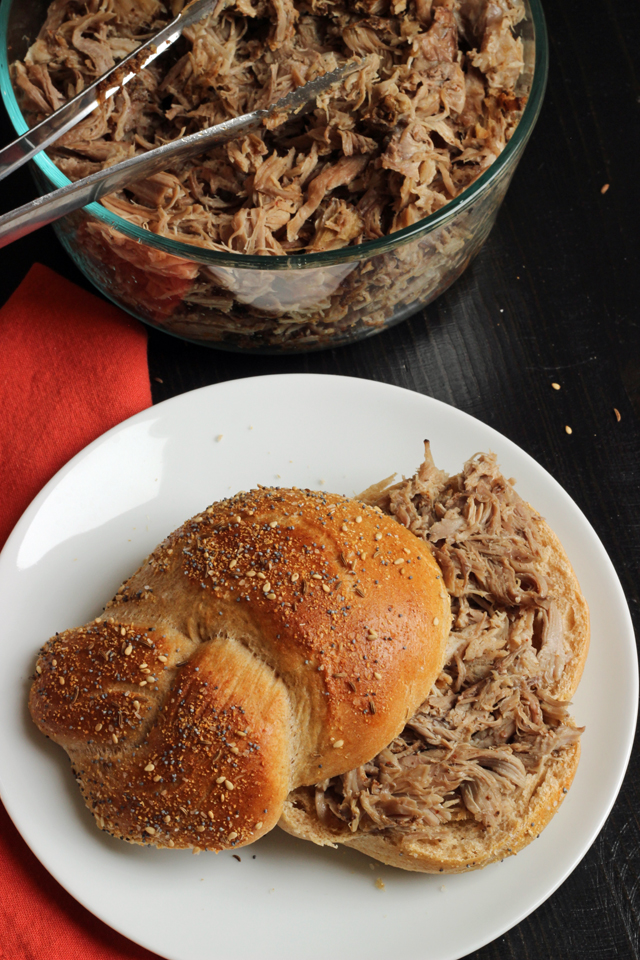
Best Ever Slow Cooker Pulled Pork
This recipe for Best Ever Slow Cooker Pulled Pork is amazingly easy since the slow cooker does most of the work. Just combine a homemade rub with a cheap cut of pork and cook it slowly in the slow cooker. It makes a ton of meat that can be used as a filling for sandwiches, lettuce wraps, and tacos.
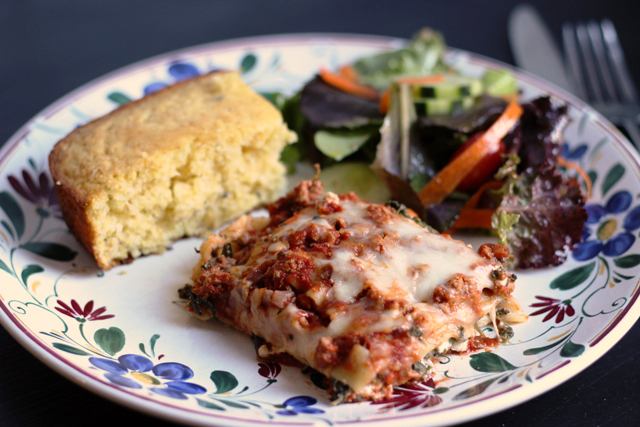
Lasagna
Lasagna has always been one of my favorite meals to make and freeze. It’s filling, and it can be doctored up with veggies to make it a one-dish dinner. When served with salad, garlic bread, and a nice glass of wine for the adults, it makes the perfect company dinner, too. Since it is a little more labor intensive, make more than one pan at a time and freeze the extras for later.

Easiest Mac and Cheese
This is the Easiest Mac and Cheese you’ll ever make. Seriously. I think it rivals the box in both taste and simplicity. Just cook the pasta, mix it up with some sour cream and cubed cheddar, and you’re ready to bake or freeze. Perfect, easy comfort food.
What are YOUR favorite kid-friendly freezer meals?
Original article and pictures take lifeasmom.com site