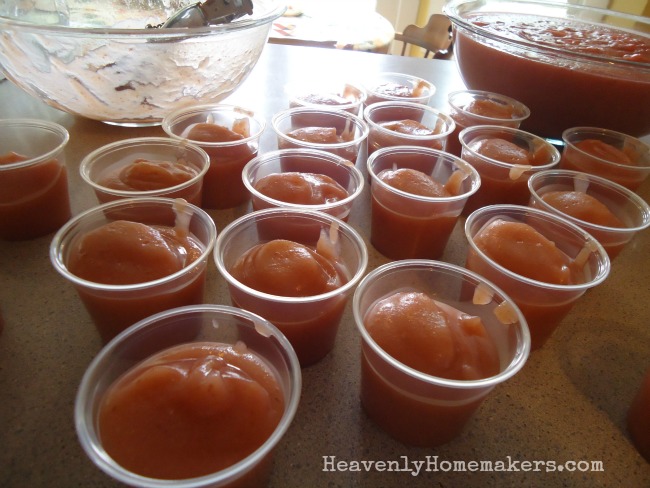
Homemade Applesauce Cups To-Go ~ For Just a Few Cents
Brace yourself for the cuteness.
Typically I make a boat load of canned applesauce each year. Still, there are always times I end up buying the little packaged applesauce cups to take on the road with us to soccer or basketball games. It feels so silly to spend money on the pre-made applesauce cups when I have home-canned applesauce in the pantry. Still, I do it. We need food for the road, after all.
This year, I got a brilliant idea. (My one and only of 2015. We’ve been waiting ten months for this.)
I checked online for little cups with lids to fill with applesauce to take on the road.
Small jars with lids work great for to-go applesauce, but those make our cooler weigh 380 pounds. Plus, I wanted to give some to Asa for his dorm fridge but didn’t want him to have to mess with saving all the jars to bring home. The cups with lids are a great solution!
~~Let us all pause here to say nice things about avoiding plastic and disposables in general. Plastic disposables are not our friend. I agree and I know there are strong opinions about this. Right now I’m the mother of many teenage boys who are active, hungry, and on-the-go frequently. It was either compromise and buy these plastic cups in an effort to save us money and help us eat well on the road – or spend more to buy them pre-made – or buy junk from concessions or McDonalds. I chose the plastic disposables and I am excited about what this provides for my family right now. Now, back to the cute applesauce cups.~~
Organic 100% fruit applesauce cups cost around 74¢ each. Non-organic are around 33¢ each. My homemade organic applesauce cups just cost me 15¢ each. This makes me very excited. Plus if it’s okay that I say so, my homemade applesauce tastes better than store-bought. :)
This batch of applesauce turned out such a pretty shade of pink because I used a variety of dark red apples with very white flesh (Empire, I believe). No one who eats this can believe I didn’t add sugar. No need for sugar, my friends. Not when God made apples this good and sweet.
The cups with lids I chose are a perfect 5.5 ounce size. I filled them about 3/4 full, put the lids on top, then froze them. (I tested one to see if it froze/thawed well. It did. Now I have a freezer full!)
Next time we need travel food, we’ll grab several homemade applesauce cups from the freezer. I am so excited about this!
Have any other good ideas to share for fun travel foods?
This post contains affiliate links.
Original article and pictures take heavenlyhomemakers.com site
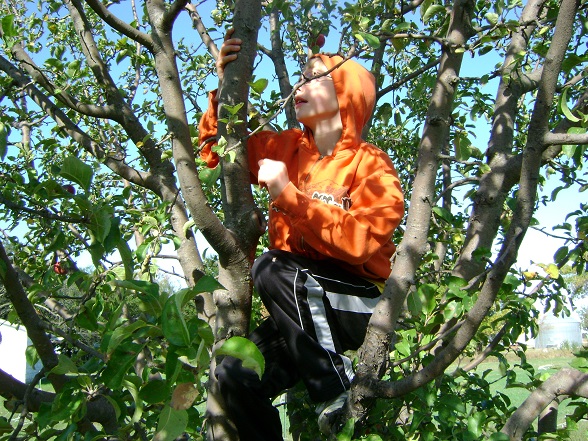
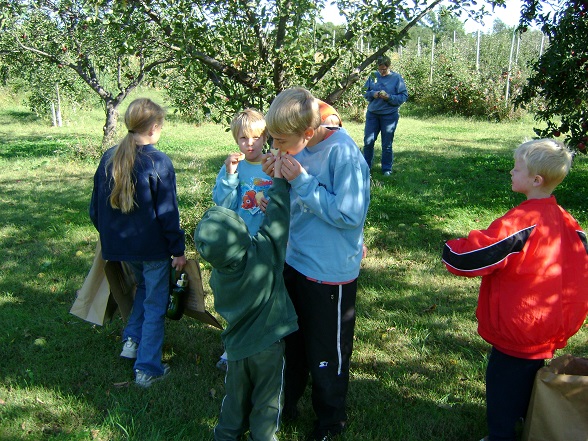
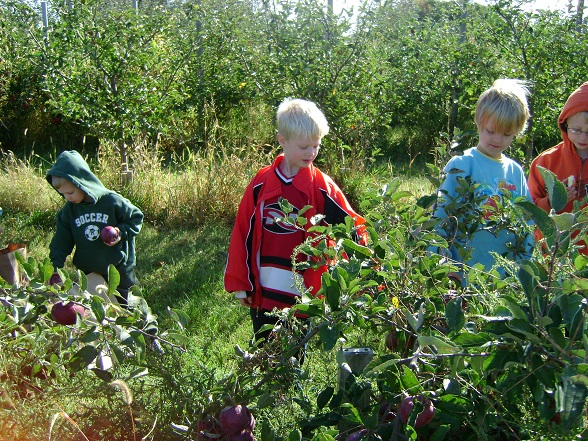
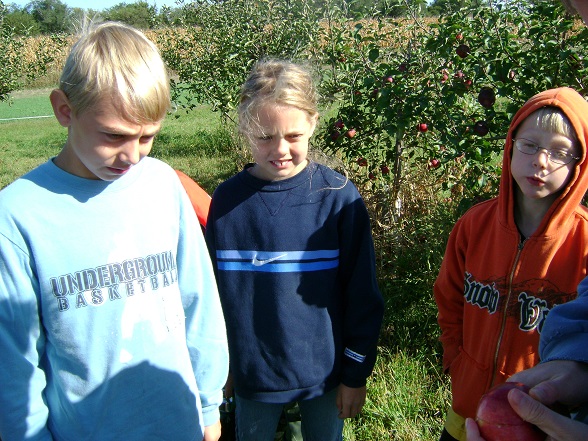
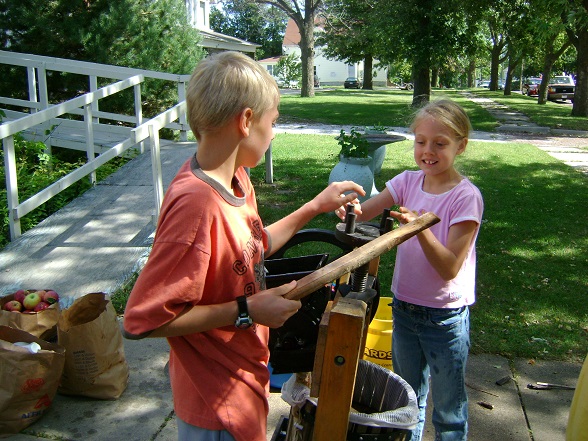
Once upon a time, my friend Anne and I went to an orchard nearby and picked over 100 pounds of apples. At the time we had 6 children – ages 12 and under – between the two of us. Therefore, I think it is obvious that neither of us had enough to do with our time and we were frequently bored. That’s why we picked so many apples. That, and the fact that the apples were (mostly) organic, very delicious, and wonderfully priced. Most importantly of all though, it is so much fun to take your kids to an orchard to pick fruit. Days like this are some of my favorite memories of time spent with my boys when they were little.
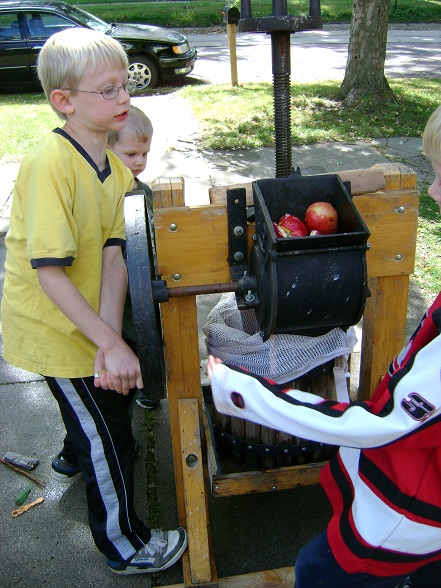
On that very 100-pound apple day, we borrowed the orchard owner’s apple cider press. He kindly came to our house to set it up, promising to come pick it up again when we were finished using it. Our plan was to get all of our kids involved with pressing cider the old fashioned way. Wouldn’t that be fun?! It was a good plan. A beautiful idea, really.
And so we began.
Oh my goodness, I just realized I have pictures. I have pictures!!!
Those pictures make me so happy, I cannot stop giggling. Such precious memories!!! I am going to sit here looking at those for the next few hours. After all, five out of six of those kids are teenagers now, so we are more bored than ever.
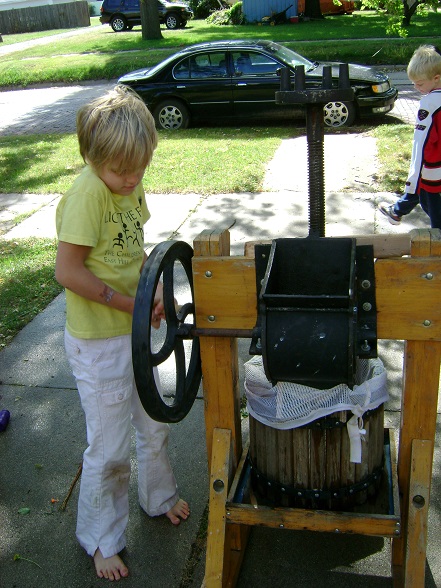
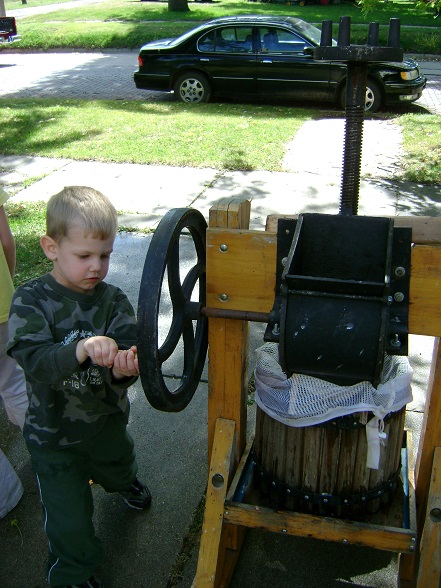
Well anyway, it didn’t take long for Anne and I to realize that having our small children press 100 pounds of apples into cider all afternoon was probably a bit unrealistic (you think?). Each child took a turn, then they all headed off to play. Anne and I spend the next few hours pressing cider like super-heros. We got stiff. We got sore. We had a blast. We were a sticky mess. But we had gallons of apple cider by the end of the day.
It was fresh. It was raw. It was the best apple cider ever to be made or consumed on this planet.
If I may, I encourage you to find opportunities to pick fruit with your children. There is something so sweet about this experience. Make cider in an apple press if you ever have a chance. It is so much fun. You will look back at this and the pictures you took whilst pressing apples and you will be so in love with the memories.
In the meantime, I have another homemade apple cider recipe option for you. Just this year, I learned to make apple cider in the crock pot. It is much less work than a cider press, though obviously not nearly as endearing. Still, this recipe turned out delicious. I added no sugar! It’s just apples, water, and cinnamon sticks. Deliciousness!
This recipe isn’t super specific on measurements. I simply fill my crock pot with cored apples, throw in cinnamon sticks, pour in water to fill about 1/2-2/3 full, then let it cook. Your house will smell like the holidays all day long – an added bonus!
Have you ever made apple cider – using a press or a crock pot or another method?
Original article and pictures take heavenlyhomemakers.com site
Today is the first day of absolutely gorgeous spring weather. It’s going to be a high of 9 C/48 F, and the sun is just beaming through every window proudly. I also spotted the first tulips and daffodils breaking through the dirt in the front flower bed, and so of course, we did The Tulip Dance (an original choreographed routine involving copious amounts of bum wiggling and cheering).
Weather like this gives me the itch to do some serious Spring Cleaning – to throw open the windows after a loooooong winter (seriously, Winter – that was Ridonculous) let in the fresh air, and scrub everything in sight (in order to give the kids a fresh canvas on which to wreak havoc again, duh.)
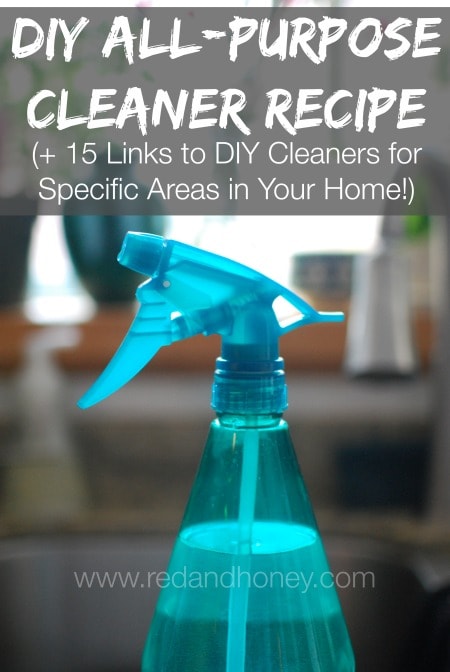
I’m planning to use this Free Printable Spring Cleaning List this year, and (nerd alert) I’m super-duper excited about it. The main weapon in my dirt-fighting arsenal is my homemade all-purpose cleaner recipe, and I wanted to share it with you!
—> This is one of those things that’s so incredibly easy to do that I often take it for granted.
If you’re going to have a chance of converting your non-crunchy peeps to a crunchy habit… this is The One.
I guess there are a few instances in life where it doesn’t make sense to take thirty seconds to make another batch of homemade cleaner. A zombie apocalypse, for example. (You have bigger things to worry about.) Or while birthing a baby (you have enough on your agenda for today.) Or maybe… uhh… okay, nope – that’s all I’ve got.
If those two things aren’t happening, then I totally think it’s worth your time. The time that it takes to make up a new batch, assuming you’ve already gotten your ingredients to keep on hand, is approximately 98% less than the time it takes to drive to the store to pick up a bottle of neon chemical cleaning soup. (That’s a scientific calculation based on irrefutable concrete facts, obviously.)
In case you’re not yet convinced (or want to present your case to your non-hippie friends), here are three excellent reasons!
Case for the Homemade Cleaner
1. Ridiculously frugal
Let’s say you use up one spray bottle of store-bought all-purpose cleaner every three months that cost you around 5 bucks. That’s $20/year for that one cleaner alone… although most people buy like a dozen different bottles for different purposes. This recipe costs you maybe $25 for all of the ingredients up front, which will then last you for probably 5-10 years if you used them for just this purpose (which, of course, you won’t – because they are so stinkin’ versatile and amazing. I mean, I’m not a math genius (HA!), but I know a good deal when I see one.
2. Super easy and quick
You literally dump the ingredients in a spray bottle and then fill it with water. Give it a little swirly jiggle action to combine. Done. I mean – it’s almost a let-down because the fun ends before it even starts.
3. Effective & non-toxic
I would argue that this homemade cleaner is actually more effective because it cleans dirt and grime as much as the store-bought stuff, but minus the negative aspects of smearing questionable chemicals all over my house (which, personally, I’d then feel the need to remove with some vinegar spray, because: yuck.)
Now, I always used to use plain ol’ vinegar and baking soda to clean pretty well everything from top to bottom in my house. I have come to discover, however, that these two ingredients – while awesome on their own – are not actually all that effective when used together. In my favourite green living ebook, Green Your Life, Emily explains why:
One way baking soda is often suggested to be used is in combination with vinegar. When you combine vinegar and baking soda you know it creates a nice fizzing reaction. It may seem like this is an effective way to clean surfaces, but actually, this fizzing reaction is only breaking down the properties of the vinegar and baking soda into little more than lightly salted water. So use baking soda as an abrasive cleaner on it’s own, or combined with a soap like castile soap or dish soap, but not in combination with vinegar for cleaning (unless you are trying to unclog a drain, where the reaction does help to remove deposits in the drain).
Another note: it’s also important to not mix castile soap and vinegar, according to this article by the makers of Dr. Bronner’s.
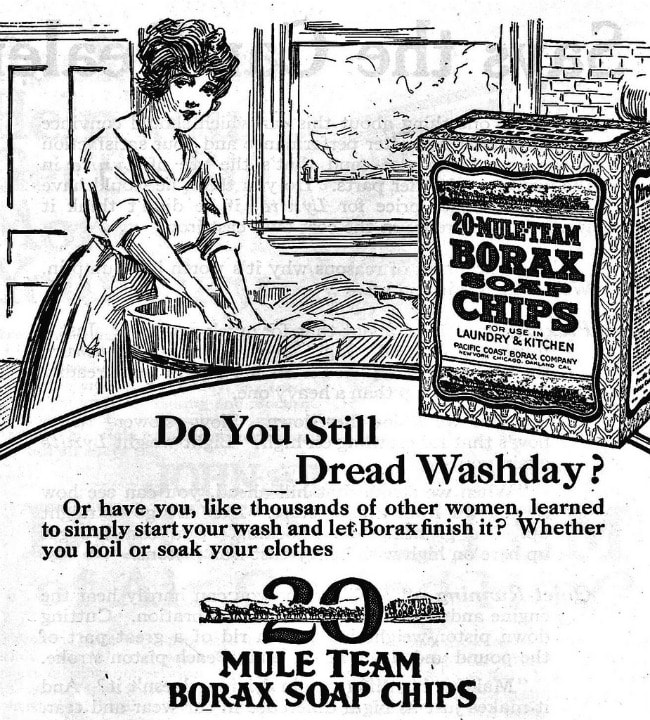
Here’s what I do use: pure castile soap (I always use this brand, and I love it. It looks pricey, but it’s actually highly concentrated), borax, and 5-6 drops of essential oils (excellent choices include sweet orange, lemon, tea tree/melaleuca, or lavender).
By the way, in case you’ve heard other rumblings of controversy over the safety of borax, you can read this excellent article to learn more. Personally, I conclude the same thing as the author of that article: I’m perfectly comfortable with using borax for cleaning and laundry, but I might avoid it in a dishwasher detergent recipe).
(If you’re interested in a recipe for all-purpose cleaner that doesn’t use borax… you’re in luck – I’m sharing a non-borax variation on this recipe over at Keeper of the Home next week!)
I use a plain spray bottle that I bought at the dollar store, although you could reuse an old spray bottle from a store-bought cleaner, if you want to be super frugal.
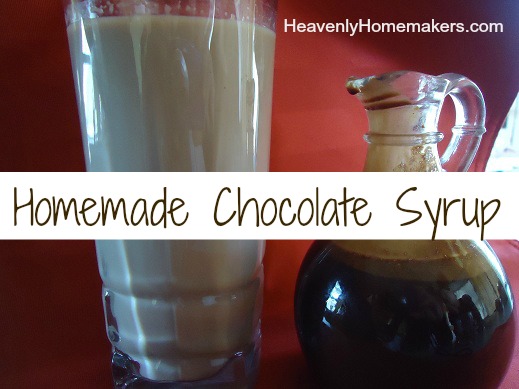
I have not one, but two recipes to share with you today in regard to making a healthier variety of chocolate milk. If at all possible, I encourage you to stay away from commercial chocolate syrup, as it is full of high fructose corn syrup and corn syrup. (You can’t tell, but I’m making a “blechy” face right now and it isn’t pretty.)
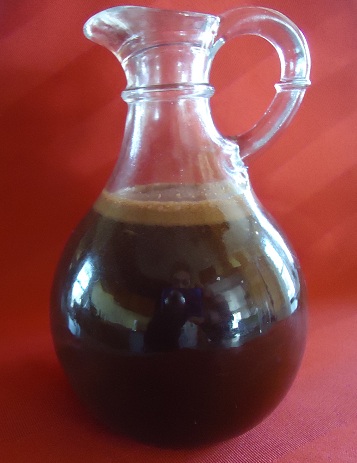
This first recipe for Chocolate Syrup is from a friend of mine right here in town. {hi, Nancy!} It’s the easiest recipe ever, making it a perfect solution for those of you who really want your chocolate syrup but want to avoid HFCS.
Mix sucanat, cocoa, sea salt and water in a medium sauce pan. Whisk ingredients together and cook on medium-high heat until the mixture begins to boil. Boil for one minute. Remove from heat. Allow mixture to cool for just a few minutes. Stir in vanilla extract.
Add Homemade Chocolate Syrup to your glass of milk to taste. Store syrup in the refrigerator.
If you look real close, you can see a reflection of me with my camera
in the round part of this cute little pour bottle.
Try to focus on the chocolate syrup. I wasn’t having a good hair day.
The boys have declared this Chocolate Syrup to be quite delicious.
It will be a special treat every once in a while at our house!
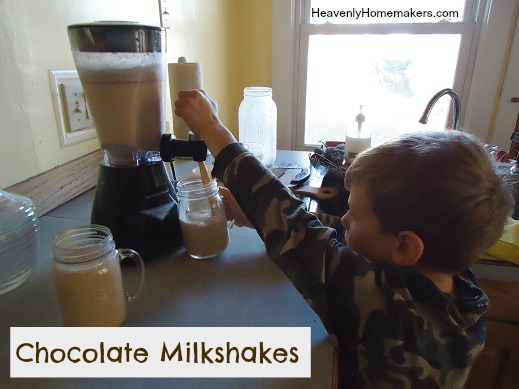
Now for recipe number two. This is how I’ve been making chocolate milk for the past several years. (Makes you wonder why it took me so long to share this, huh? I have lots of excuses.)
Now don’t freak out or anything, but I often add a few raw, farm fresh eggs into the blender when I’m mixing these up. I don’t worry one bit about getting sick from raw eggs that come straight from my friend’s farm. Their chickens are allowed to roam free all day long and eat all the healthiest chicken feed and you know…bugs. Healthy chickens means healthy eggs, and we eat them free of fear. Raw eggs are great brain food.
Okay, this post is not about the safety of raw eggs. But I did just want to let you know that if you want to add farm fresh, free ranged eggs to this Quick Blender Chocolate Milk recipe, you’ll find that the nutrition level goes WAY up, as does the creamy-richness of this chocolate milk! (I really don’t recommend putting raw eggs into this – or into anything – if the eggs are not organic, free range, farm fresh eggs. Please do your own research about this to determine what you feel is safe.)
Put all ingredients into your blender and mix well.
Malachi LOVES the job of serving the Chocolate Milk out of our fun blender.
So there you go. Many of you were screaming for a healthier chocolate milk recipe, so now you have not one, but two to choose from!
And now, the Heavenly Homemakers Recipe Challenge continues. I’m in the process of figuring out a healthier Onion Soup Mix recipe and have played a little bit with Angel Food Cake. The Angel Food Cake I tried first completely sank and went from four inches tall to 2 inches tall. I’m still working on it. I guess that’s why this is called a “challenge”, huh? :)
Original article and pictures take heavenlyhomemakers.com site
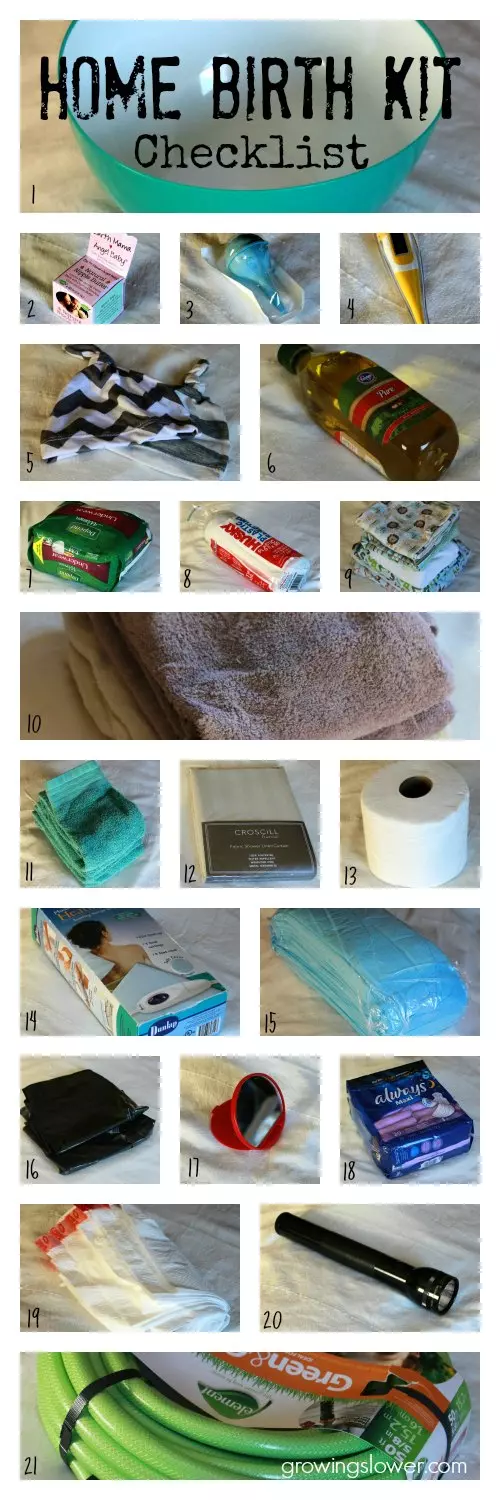
Home Birth Checklist – 33 Must-haves for Your Home Birth Kit
If you’re planning a home birth, you’ll probably be asked to put together a home birth kit. Here’s a home birth checklist of everything you’ll need.
I t’s hard to believe our 37 week home visit is right around the corner! I’ve been busily putting together our home birth kit. Since some of you have asked, I thought I’d share just what I’m putting in the kit.
Most of these items you’ll probably be able to find by going on a little scavenger hunt around the house or by asking friends and family. I even had a friend offer to give me her old towels for my first birth!
Just about everything else in your home birth kit can be purchased inexpensively. Check with your midwife as to what she expects you to have as the list may vary a bit.
Contains affiliate links to some of my favorite homebirth supplies.
I promise they aren’t as bad as they sound. While I am sure you think I have lost my mind, let me tell you that my kids gobbled these up and asked for more. They did!
Do you have a hard time getting your children to eat their vegetables?
For the most part, my kids are great about eating at least one bite of something they don’t like. Usually they do find that they like it. There are those vegetables though that are hard to get them to even eat one bite. Then there are those weeks when we are super busy. We find ourselves making poor food choices. It is then that our attitudes and how we feel reflects those poor choices.
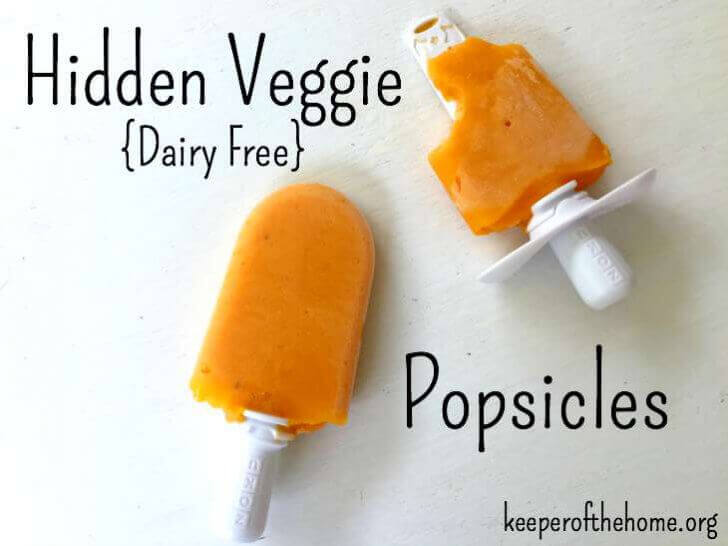
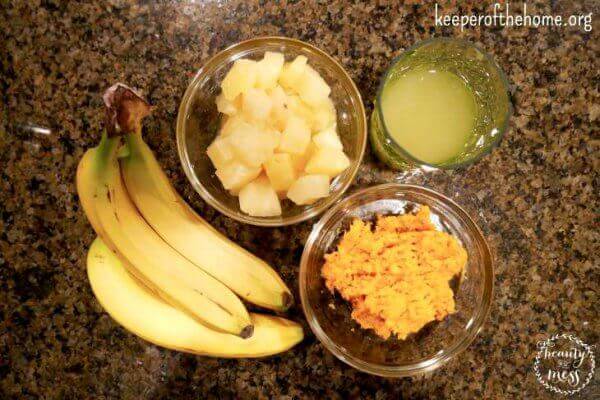
In an effort to eat more veggies while enjoying a cool treat {since we were without air conditioning for a week during the heat wave in North Carolina} I added about one cup of mashed sweet potato to our favorite smoothie recipe and added more liquid to help with the consistency.
They were delicious!!
Are you ready to try them?
Print
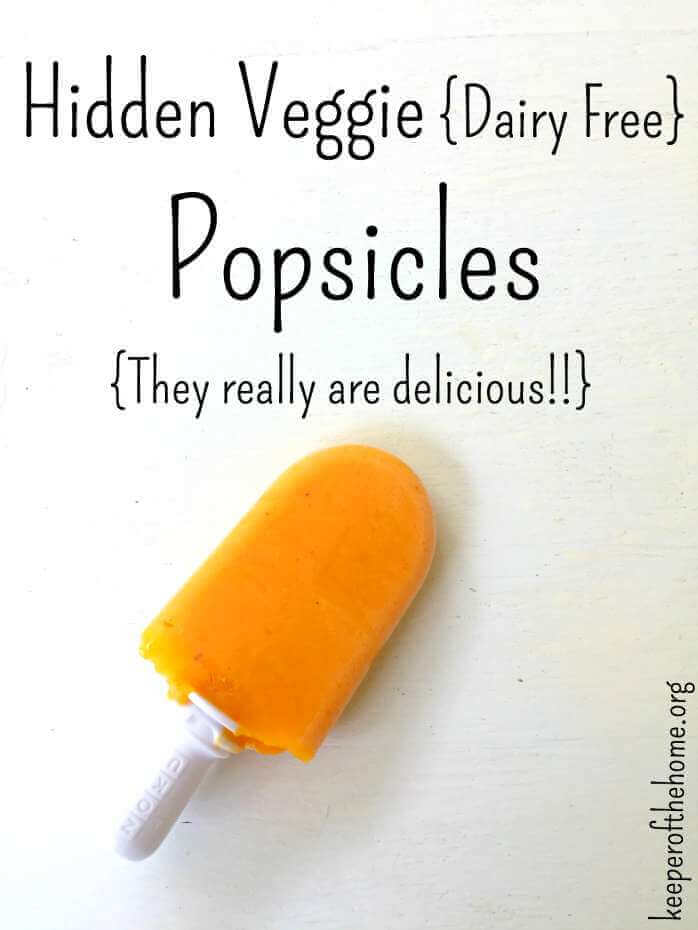
Hidden Veggie Popsicles
Instructions
Dump everything in your blender and blend until smooth {our Blendtec made this SO easy!} add more liquid if you need to.
Pour this deliciousness into popsicle molds. {We used the Zoku Quick Pop Maker, which is SO FUN!}
FREEZE!
The Zoku froze the Hidden Veggie Popsicles super fast, but if you are using molds, wait several hours until the popsicles are frozen.
Pull them out and ENJOY!!
Aren’t they YUMMY?!
Not sure about Hidden Veggie Popsicles? Try these!
How do you sneak hidden veggies in your family’s meals?
Disclosure: This post contains affiliate links. When you buy through our links, we earn a small commission, which helps to keep this site going so that we can continue to offer free and useful content, so thanks!
Whitney is the creator of Beauty in the Mess, a wife, mommy of 4, Jesus lover, blogger, crafter, chai drinker, lover of antiques, and all things vintage. She dreams of one day renovating an Airstream trailer and traveling around the country with her family of six. You can also find her on Facebook, Twitter, Pinterest, and her favorite, Instagram.
Original article and pictures take keeperofthehome.org site
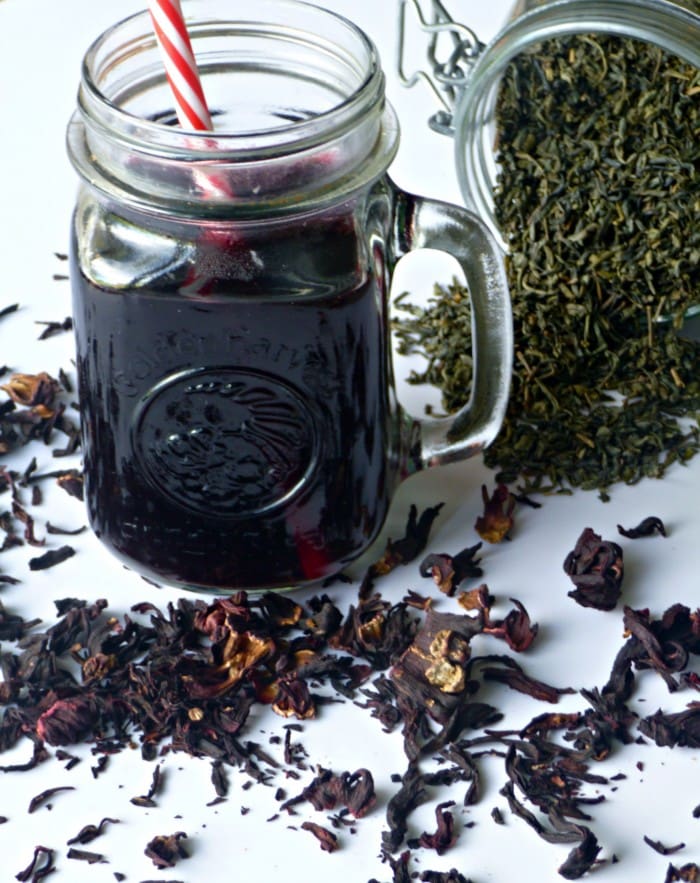
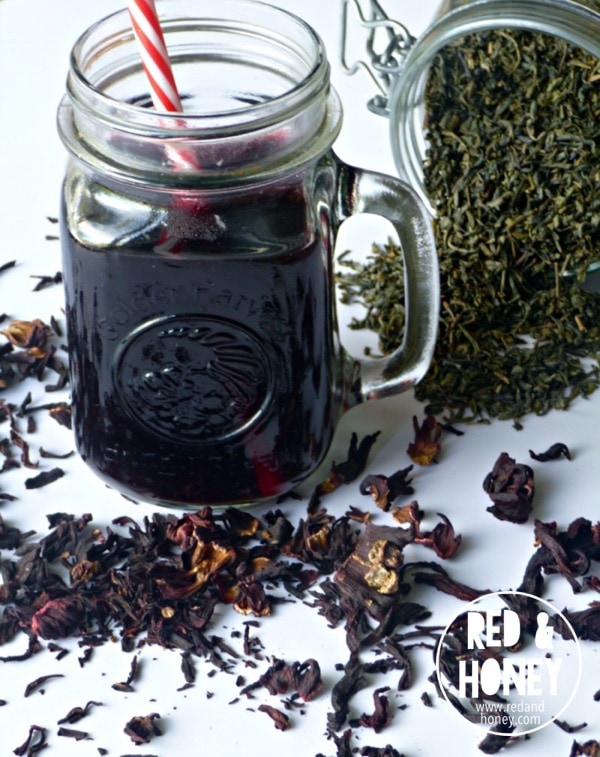
Nothing screams summer like a glass of cold iced tea. I remember my mom always had a pitcher in the refrigerator that I was constantly draining. I like to do the same for my kids.
However, my idea of a good tea has changed since I was a kid. While I LOVED the tea I had growing up, it came from a can. You know, the kind that is powdered and you just add it to water and stir? Sigh. I hate to imagine just what was in it. <shudder>
And, to be honest, I have not gotten my kids to love plain tea. It does not matter how sweet it is, they are just not fans.
I have tried to change that over the past few summers by playing with different flavors and teas. I have finally found the combination of tea, herbs and sweetener that my kids love to drink. I can hardly keep the pitcher full on hot days.
It seems black tea, the kind you typically find at the store, is just too strong of a tea flavor for them. However, the lighter taste of green tea has totally made a difference in their consumption. Brewing the green tea for just the right amount of time makes for a great, refreshing flavor.
Green tea also has many health benefits, including being full of antioxidants, so I feel good about them drinking it.
But, let’s face it. Green tea looks kind of boring when others kids have fun, bright colored juices. (Which also means those juices are full of artificial colors and dyes.)
I wanted to be able to make our tea drink fun so I started playing with adding some herbs.
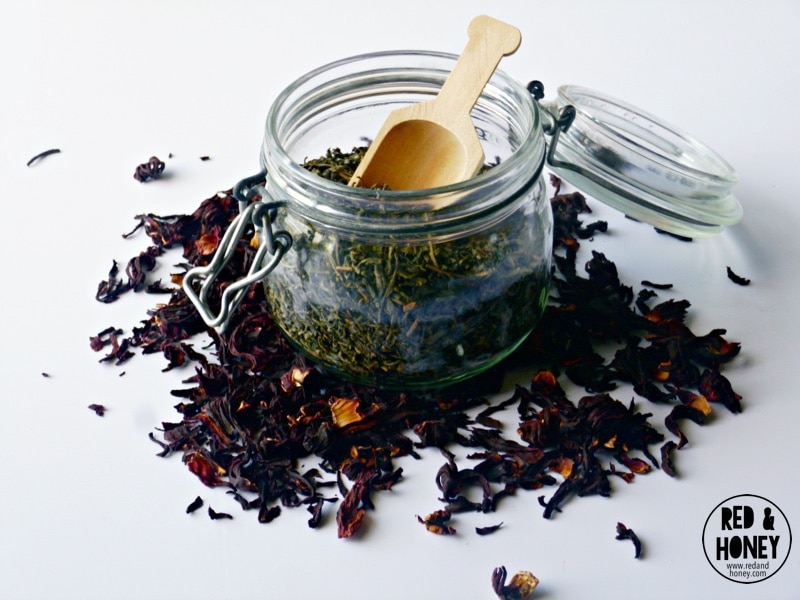
That’s when I fell in love with adding hibiscus. Hibiscus add a great tart flavor along with a brilliant red color to make our summer drink special.
Hibiscus is also high in vitamin C, which makes for a great boost to keeping our immune systems healthy and happy.
I love using herbs to help supplement my children’s diet because they are easily assimilated, which means their bodies have an easy time using it.
Print
¼ cup of loose green tea (or you can use bags)
½ cup of hibiscus flavors
8 cups of water
¼ cup of honey or a few pinches of stevia*
Place loose green tea in one container and hibiscus in another container you will be keeping your tea
Bring 4 of the 8 cups of water to a boil
Pour 2 cups of water on the green tea and allow to steep for two minutes before straining
Add the other 2 cups to the hibiscus and allow to steep for 10-15 minutes then strain
Combine the teas and add honey until well mixed
Add the rest of the water (about 4 cups) and refrigerate until cool
*We like a more tart flavor so please add more honey if needed or do stevia to taste if you are watching your sugar intake
I know this takes a few extra steps but it is worth it for this yummy tea. Green tea can be bitter if brewed too long so I always take care to use a timer.
There are a great variety of loose green tea, so when you are searching, read a bit about them to see which on might be a good fit for your taste buds.
I often double this recipe to make a gallon of tea.
I have also served this to kids that aren’t used to real herbal tea and they love it. (We just don’t use the word ‘tea’. ) Kids love brightly colored drinks and it is so fun to be able to serve them one with harmful chemicals.
I’d love to hear from you, what are some of your favorite summer drinks you make for your kids using real food ingredients?
_________________
Jessica is a wife and mama to two boys and she loves spending her days with them, watching them grow and explore the world around them. Jessica grew up on fast food and quickly ditched that life when she became pregnant with her first. Since then it has been journey of learning about whole food nutrition, herbs and natural supplements. Her goal has been to keep her family healthy and happy…as naturally as possible. You can follow her blog Simply Healthy Home or find her on Facebook.
Original article and pictures take redandhoney.com site
Hi! I'm Erin Chase and I am on a mission to help you spend less money on your groceries!
I managed cut my grocery bill in half using a combination of strategic grocery shopping, meal planning & couponing methods. And now, I'm on a mission to help you cut your grocery spending in half with my one-of-a-kind 10-Week Grocery Budget Makeover online class. I've pulled all my years of savvy grocery planning and shopping into a step-by-step program that will flip turn upside-down the way you grocery shop...forever! You ready to stop overspending on groceries?
The Grocery Budget Makeover is only open for registration 3 times each year. Our class and community go through the videos and worksheets together, hold each other accountable to our goals, and share wins and savings victories each week. If you'd like to join the next class, be sure to visit the site and let me know you're interested!
"I am all about trying to be organized and wanted something beyond what you offer on $5 Dinners. The most valuable thing I learned is planning your meals ahead of time and not going to the grocery store on the fly. I love all the different ways to make your shopping list too. I don’t have 5 hours a week to plan my shopping list and menus, so the efficiency I learned was really helpful. It’s worth the investment because you will learn how to do things more efficiently, starting from the very beginning of the process.” ~ Melanie
Original article and pictures take 344apz3bh6di1m0sag1etg3fxyz.wpengine.netdna-cdn.com site