This is a non-recipe recipe. This means that you can sub out ingredient for ingredient as you have preferences, allergies, and stock piles. Love flax seeds? Throw ’em in. Can’t have peanut butter? Use the nut butter you like. Prefer maple syrup? Use it instead of honey. Running low on raisins? Oh well. Don’t like chocolate chips?
Wait. Who doesn’t like chocolate chips??
Here’s how this non-recipe works:
Plop 1/2 cup peanut butter (or whatever butter) and 1/4 cup honey (or maple syrup) into a bowl. I really do mean plop. Just eye-ball it. An exact 1/2 cup of peanut butter is not necessary here.
Stir in 1 1/3 cups total of whatever dry ingredients you want. Oats, flax, sunflower seeds, sesame seeds, raisins, chocolate chips, anything else you like.
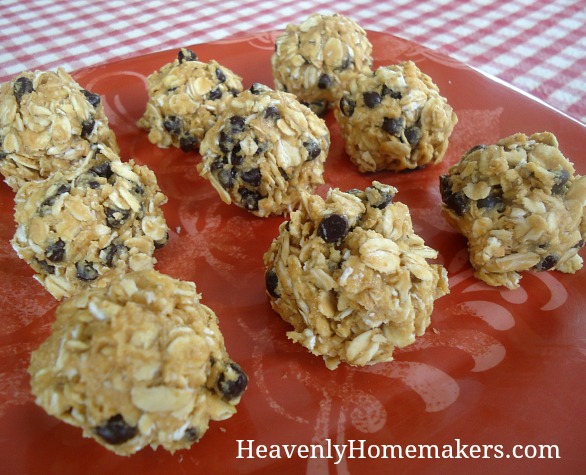
Scoop the mixture into balls and enjoy.
Store them in the refrigerator.
Here’s the printable version:
Simple No-Bake Granola Bar Bites
As you can see, these Granola Bites are easy to put together in just a few minutes. They are great to take on the road or pack in a lunch. Of course, if you just want to sit right down at your kitchen table and eat them, that’s okay too. You could even make them at night and eat them for breakfast the next morning. Basically, this is one of the most versatile recipes in your whole wide kitchen. Everyone wins!
Original article and pictures take heavenlyhomemakers.com site
When it comes to kitchen appliances, I’m sure most of us would agree that we don’t want any gadgets that only serve one purpose. Never shall I own a Quesadilla Maker or a Hot Dog Toaster (yes, that is a real thing).
But a waffle iron? Sure, we can assume they only make waffles and therefore wonder if they are worth the purchase because of the single job they perform. But guess what? I’ve been on a “what else can I make in my waffle iron?” kick lately, and I’m here to share some delightful waffle iron hacks!
The Waffle Iron: Good for so much more than just making waffles. Check it out…
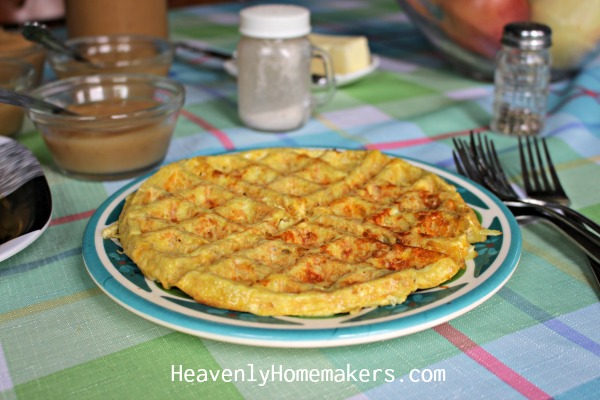
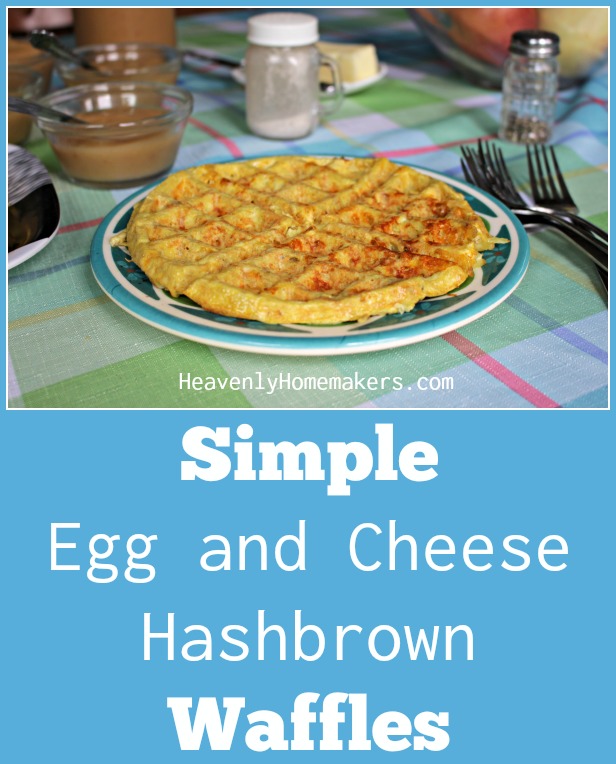
It looks like a regular waffle. But it’s eggs, cheese, and hashbrowns, and it’s ridiculously good.
Why Waffle Iron Experiments?
Perhaps it’s the ease of making food in a waffle iron, the fact that I can easily offer a “made to order” option for picky eaters, and that I can make as many “waffles” that we need as we need them. Using a waffle iron instead of an oven on a hot day is also a huge perk because it doesn’t heat up the house!
And the best part: it’s fun. Somehow making food in the shape of a waffle is more fun than making food in the shape of normal.
Earlier this week I shared how you can make Waffle Omelets (otherwise known as Womelets). Later I will show you how you can make Waffle Muffins (perhaps we will call them Wuffins, though we hesitate to get carried away). And who knows what else this summer will bring as we avoid turning on the oven and test our waffle iron to the limits.
Today, I show you how to make Egg and Cheese Hashbrown Waffles. These are hearty and filling, naturally gluten/grain free, can be adapted for each family member’s preferences, and are fun to serve. The only difference is that there is no obvious way to cleverly rename these because saying Washbrowns is just weird.
Simple Egg and Cheese Hashbrown Waffles
1½ pounds frozen hashbrowns (or freshly made, see link below)
Sea salt and pepper to taste
Add in options: chopped meat, chopped veggies such as onions, pepper, mushrooms, or asparagus
Whisk eggs and stir in all other ingredients.
(For picky eaters, leave the add-in options separate to add to each waffle individually.)
Scoop ½-3/4 cup of egg/hashbrown mixture into waffle iron.
Top with add-ins.
Close waffle iron and cook for 3-5 minutes until brown and crispy.
Look out because I’m on a waffle iron kick. What else will I come up with?!?!
Have any ideas for me? What creative ways have you found to use your waffle iron?
If you haven’t picked up your copy of The Prayer Mugs we’d love for you to get this 96-page parenting prayer packet full of lessons, stories, encouragement, printables, scripture, study guides, and prayer prompts! (Read more about this beautiful resource here.)
Original article and pictures take heavenlyhomemakers.com site
There are definitely seasons that lend themselves to “I’m booooored, Mom” kind of phases, like the hottest days of summer, and the coldest days of winter.
To help combat the dreaded kid boredom, I want to show you a very easy, very cheap way to keep your kids entertained and their imaginations soaring.
Today, we’re going to make a quick kiddie tent that shouldn’t cost you more than $15!
Here are the supplies you’ll need:
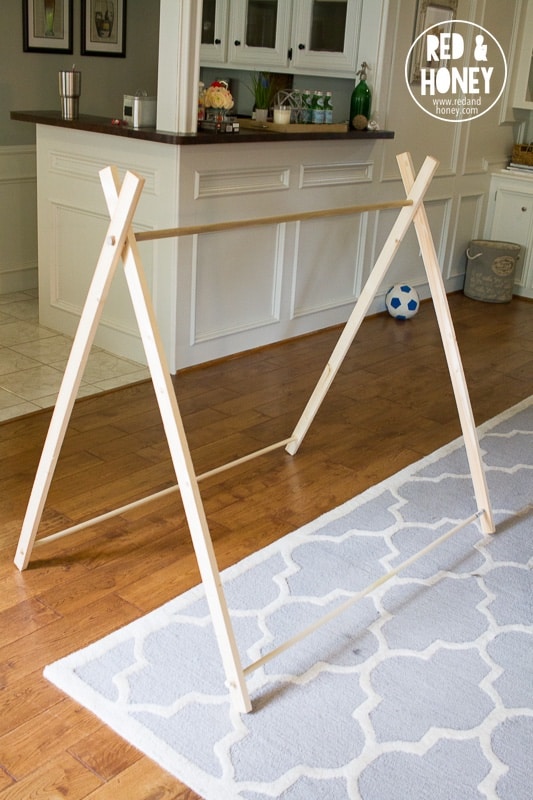
• (4) 1X2X4 whitewood boards
• (1) ½” X 48” dowel rod
• (2) 5/8” X 48” dowel rods
• twin flat sheet
Here’s how to put it together:
1. Measure 6” down from the end of each 1X2X4 board and, using a ½” spade bit, drill a 1/2” hole through one end of each whitewood board.
2. Measure 3” down from the opposite end of each 1X2X4 board and, using a 5/8” spade bit, drill a 5/8” hole through the end of each whitewood board.
3. Take two of the boards and slide one end of the ½” dowel rod through each ½” hole at the top of each board. Do the same thing with the remaining boards on the other end of the ½” dowel rod.
4. Now take your 5/8” dowel rods and insert each end into the holes at the bottom of the whitewood boards on each side of the tent structure.
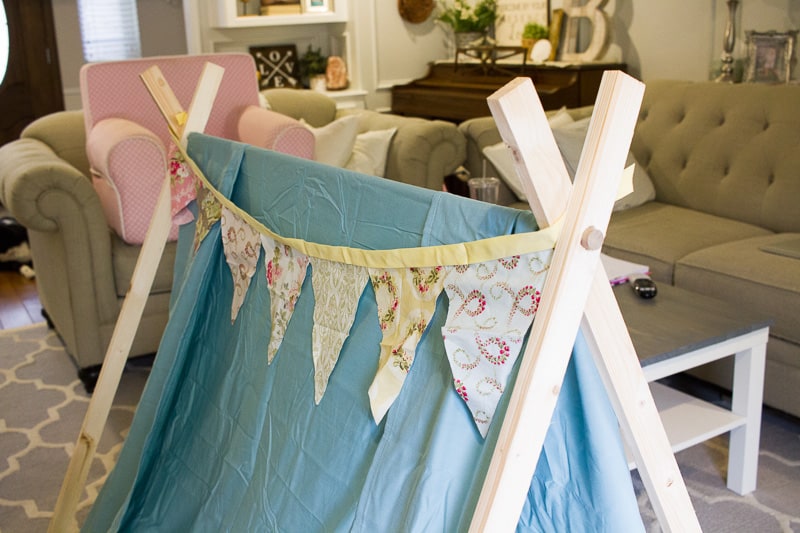
5. Here’s where you can get as fancy or as simple as you want. I chose the simple way: I took the twin sheet and I draped it over the dowel rod at the top of the tent. Then I just turned each end of the sheet under each of the dowel rods at the bottom of the tent and secured the sheet with several large safety pins.
If you’d like to get fancy, cut your sheet down to size (45X86) and sew a 1” hem on the long sides. Then sew a 1” hem on the short ends of the sheet, creating a “tunnel” for the small dowel rods to run through at the bottom of the tent. You’ll attach your “fancy” sheet by draping it across the top of the tent and then running your small dowels through the bottom edges of the sheet first before you insert them into the holes in the bottom of each whitewood board.
6. Finally, make a simple bunting (or have your kids make one with scrapbook paper and attach it to some yarn!) and string it across the sides of the tent! You’re finished!
Now your kids have an easy, sweet little fort to play in! This tent would be fun to put outside in the shade so the kids can play in the yard.
I had to set mine up in our living room because we’re getting torrential amounts of rain and our backyard is a swamp, complete with Texas-sized mosquitoes. Yuck. But, the kids don’t mind and they love to watch movies while lying in their new fort!
What’s great about this little tent is that it’s super simple to break down and store when the kids aren’t using it. And using a sheet as the tent fabric makes it easy to throw in the wash if it gets dirty. I call that a win for kids and for moms!
Happy tenting!
Original article and pictures take redandhoney.com site
Simple Crock Pot Chicken Soup with a Kick – 4 Ingredients!
It’s as if this soup knew we needed it in our lives. As if somehow, in the mysterious ways only known to soup, it recognized that many days of the week are busy, and our time in the kitchen is limited, but we still want a hearty meal as the sun goes down. Therefore, on the day we needed it most, this soup arrived, begging us to make it on a morning we are still half-asleep and thinking about the other items on our agenda for the day.
This soup! I don’t think I’ve ever made one that takes less effort or energy. I didn’t even thaw the chicken ahead of time. I had all four ingredients already in my home because I almost always have:
boneless chicken
salsa
chicken broth
cheese
I didn’t have to chop, stir, measure, or think. I put the ingredients into my crock pot, plugged it in (always recommended), turned it on, and walked away. Six hours later we sat down and ate soup.
If all of life was as easy as this soup, we would all turn into lazy, squishy people. Seeing as most days we are going-going-going, I don’t think we need to fear the squish. But this soup? It’s got our back at the end of a busy day, because it recognizes all we do and it’s here to say, “Dinner? No problem. I’m here for you. Sit down with your family. Eat. Enjoy.”
What to serve with this Chicken Soup with a Kick:
Tossed salad
Fresh fruit
Consider adding to your bowl of Chicken Soup with a Kick:
Crushed tortilla chips
Sour Cream
Sliced Olives
Black Beans
Corn
This soup will work wonderfully to serve to guests. It is seriously delicious and need I remind you? You don’t have to thaw the chicken ahead of time. I mean, you can if you want. But why plan ahead when this soup doesn’t require it?
This recipe, for sure, will be one of my go-to recipes this fall and winter.
Hopefully you also saw the Simple Baked Salmon and Asparagus recipe I posted earlier this week. If you’re wondering if there’s some kind of theme going on – perhaps a conspiracy to force us put healthy meals on the table with very little effort – you are right on track. Meals that take just a few minutes to prepare. Healthy food ideas and guides that prevent us from spending hours in the kitchen. Plans to save our family time. Oh yes. This is definitely in the works.
Check it out! Cooking Guy (my friend’s son) is at it again. He’s four. He made this soup. See? I TOLD you it was simple!
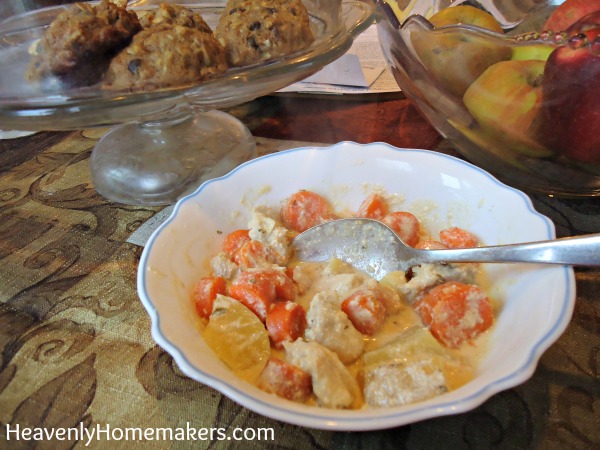
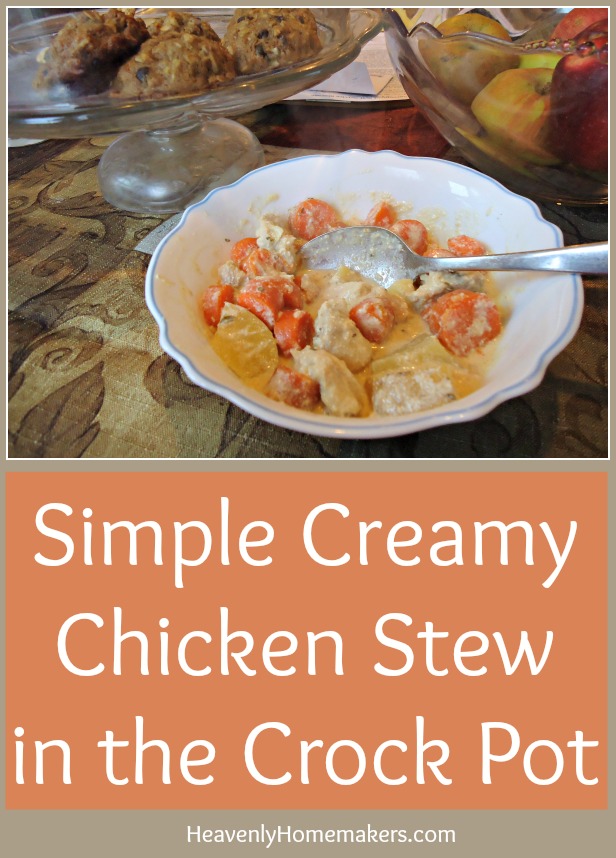
If you want something that meets all the criteria for nourishing comfort food, this Simple Creamy Chicken Stew is what you’re looking for.
I love that the ingredients for this recipe can be quickly put in the crock pot in the morning. Of course, since we are home most of the day, the delicious smell of this cooking stew almost kill us. (Life is so hard.)
Probably one of my favorite aspects of this stew is the creaminess. The ranch dressing mix gives it wonderful flavor, and of course, the potatoes and carrots make this meal filling and nourishing. I love this stew! Whenever there are leftovers (rare, but hey, it does happen sometimes), I am so happy. Warming this up on the day after I’ve made it makes for such a happy lunch.
1 pound boneless chicken breasts or thighs
4-5 small potatoes (I prefer red or gold)
3 Tablespoons dry ranch dressing mix*
Sea salt and pepper to taste
You’ve been trying all the new Simple Recipes, right?
Original article and pictures take heavenlyhomemakers.com site
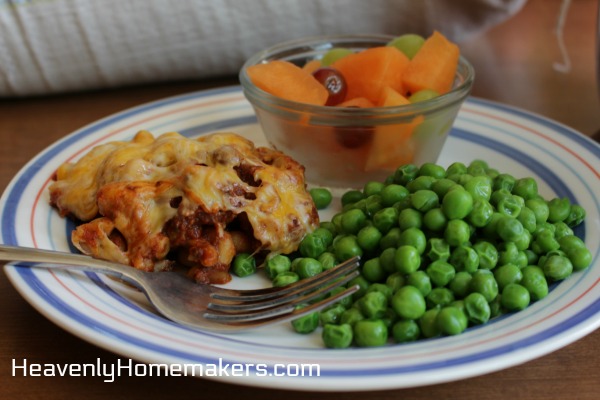
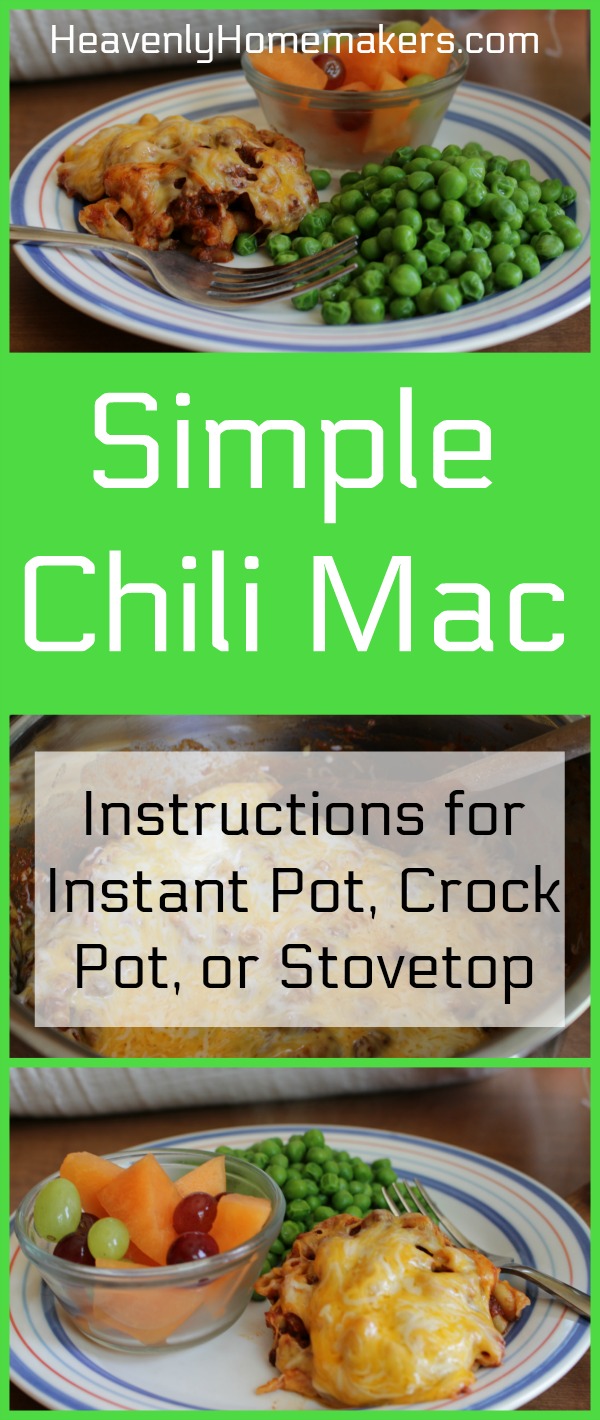
Simple Chili Mac (Instructions for Instant Pot, Crock Pot, or Stovetop)
This Simple Chili Mac is the reason you should make a double batch of chili. Leftover chili (or purchased canned chili) makes this recipe take about 5 minutes to throw together.
Also? How did I ever live without an Instant Pot? I know, I know. So many of you told me I would love it for the amount of time and effort it saves, but I could not handle thinking about learning how to use a new appliance. Good grief. There was nothing to learn. Okay, there was a little bit more than nothing to learn. There was about ten minutes of learning involved.
But now I’m like, “Here, Instant Pot. I give you my leftover chili and my dry pasta. Please make our lunch.”
And then it does. Like a boss. Except I’m the boss because I told it what to make.
If you don’t have an Instant Pot, you can still make this as simple as possible in your crock pot or your stove top.
Have I told you how much I love NOT cooking pasta before adding it to casserole dishes? Truly, any recipe that allows me to dump dry pasta into sauce and walk away is golden.
Simple Chili Mac
Here’s our Easy Chili Recipe! Using leftover chili for this Chili Mac recipe makes it extra simple!
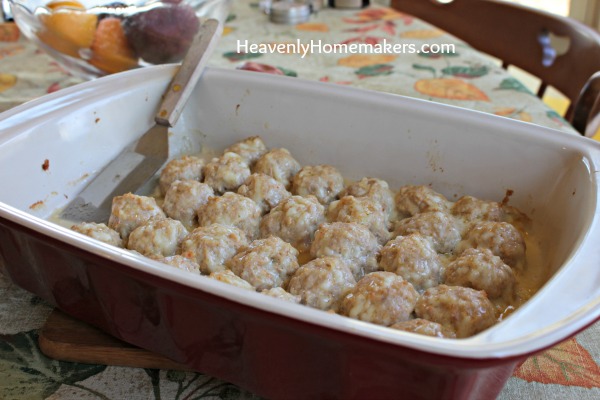
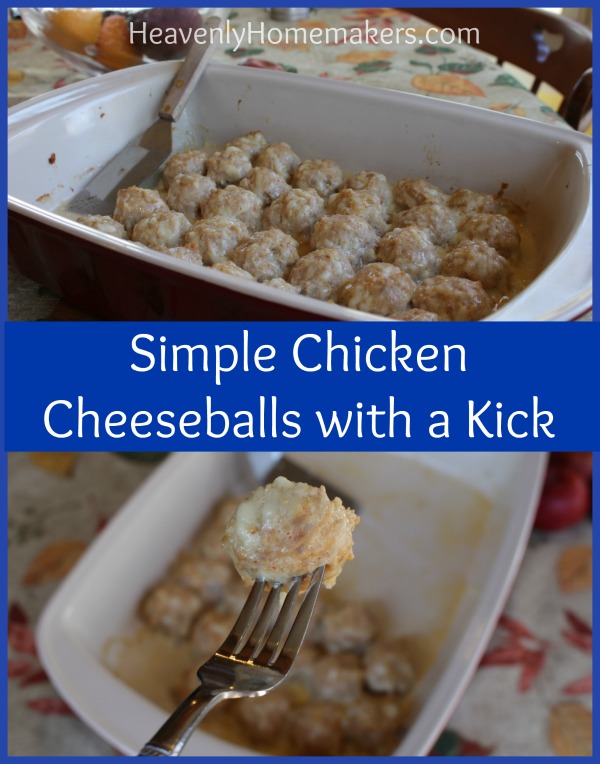
Simple Chicken Cheeseballs With a Kick (naturally gluten free)
I experimented with these Chicken Cheeseballs on a whim. It was a simple recipe and I figured chicken and cheese – sure, they’ll probably be pretty good. Pretty good? I should say so! I turned right around (did the hokey-pokey) and made these again three days later. These cheesy little meatballs are incredible!
The first night I pulled a batch of these out of the oven, one by one my men came into the kitchen, took a look at the meatballs, and popped one into his mouth. I think each one, in turn, said the same thing, “Whoa. What are these? These are amazing! You can make these again!” (Don’t mind if I do.) I wouldn’t say my family is very picky, and yet, when every single person in the family likes a recipe, this is a huge score.
You might be wondering, like I did, “What holds these meatballs together? Don’t we need flour or bread crumbs or a bisquik type baking mix to make this recipe work? Nope. They stay together just fine even though they are made with only ground meat, cheese, and a few spices. They take only a few minutes to mix up and scoop into a pan. You can make the side dishes for your meal while they bake. AND, if you have time, you can make a double or triple batch to freeze so that all you have to do at mealtime is grab out the amount you need and bake them!
I used a scoop like this one to make these meatballs. Whoa, does that little kitchen gadget come in handy!
Simple Chicken Cheeseballs with a Kick
Use ground sausage or ground beef if you prefer in this recipe. You can use these Chicken Cheeseballs on a holiday snack buffet table, serve them for breakfast, or serve them as a main dish at dinner – they are perfectly versatile. I’m looking forward to keeping these in my freezer for quick, simple meals in the future!
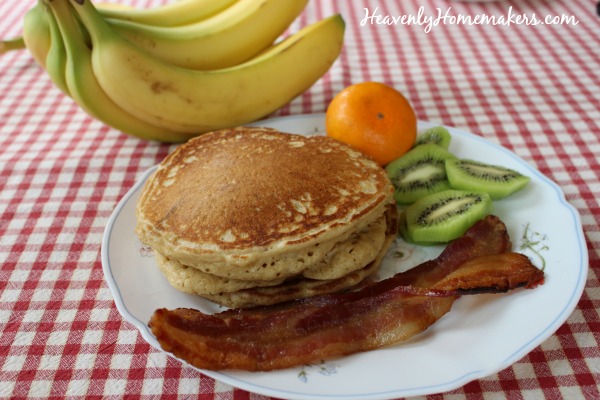
What is it that makes serving breakfast for dinner so much fun? These Simple Banana Pancakes are extra delicious at night. I don’t know why, they just are.
Also, it’s seems that pancakes taste better when cooked over an open fire while camping.
So let’s review. Pancakes taste better when cooked at night for dinner or when cooked over an open fire while camping. Why do we even think about making these in the morning for breakfast, anyway?
Well, because they taste great in the morning too. Okay, then. Pancakes taste amazing no matter when you make them and where you cook them. Pancakes are fabulous. Add banana to the pancakes and they become extra special.
Once again, we can brag that this meal offers extra money savings! As we work our way through the month sharing Simple Meals on a Simple Budget, we can be amazed at how many great meals we can make that come together without much effort but still save us money too!
Have you tried the other Simple Meals on a Simple Budget we’ve shared so far? There are many more to come, but here are the two we’ve posted at this point:
And of course, all the Simple Recipes we’ve shared during the past year:
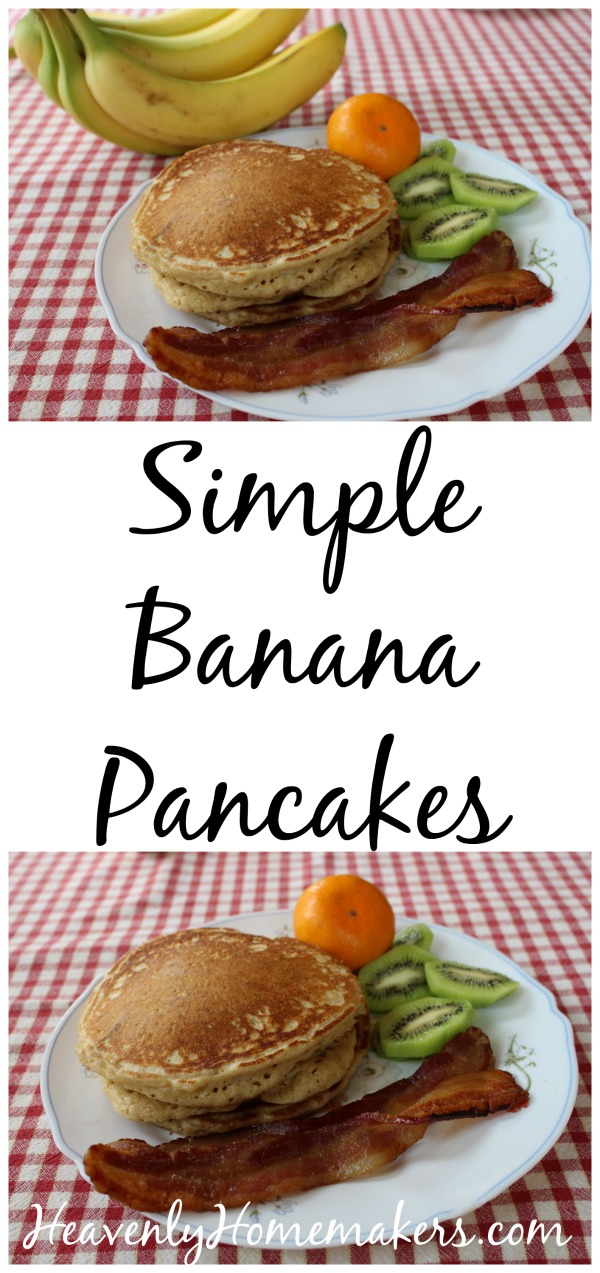
And now, without further ado, I present to you the most wonderful breakfast or dinner time Simple Banana Pancakes!
Simple Banana Pancakes
Enjoy all these recipes without effort when you become a Simple Meals member! Every week we’ll send you a great menu plan full of Simple Recipes like this one. We’ll equip you with a grocery list. We’ll break everything down so that your meal prep is as simple as possible. We’ll give you bonus tips and recipes and freebies. And this is all for just $1 each week. You’ll love it!
Does your family enjoy eating breakfast food at dinner time?
Original article and pictures take heavenlyhomemakers.com site