
Original article and pictures take d3spquiph2sexc.cloudfront.net site

Having a cold or the flu is for the birds, but we’re all prone to get them, especially as Summer fades into Fall and the constant climate changes take their toll. It’s so important to have natural, non-toxic remedies on hand like this homemade vapor chest rub.
As much as we try to prepare ahead of time by getting adequate prebiotics and probiotics, we’re all bound to get sick at some point. When I’m sick, there are a few creature comforts I want to have: warm, soothing soup; cozy pillows and blankets; and something to take away the congestion, aches and pains.
As a child, my mom would rub Vicks VapoRub on my chest and under my nose, to this day I instinctively smell that menthol scent and I know relief is on its way. That cooling sensation followed by the decongestant goodness makes any cold or flu more tolerable.
These days I’m more aware of the toxic ingredients used in these OTC remedies. Sure they’re likely to bring relief, but at what cost to our toxic load?
Quite frankly, I’m not too thrilled about the idea of adding toxins in order to relieve symptoms. BUT, if I don’t have an alternative, I’m likely to cave and run to the store at the first sign of congestion or discomfort.
Because cold and flu season is upon us, and the first sniffles and coughs are making their way through our house, it’s timely to share our DIY soothing chest rub and a few other remedies we use to help bring relief and allow for rest so our bodies can heal and restore themselves.

Disclosure: I did receive product samples to facilitate my review. As always, all opinions are my own.
Many of you know that I love handmade things, and I especially love natural bath and beauty products, so I’m really excited to share a post from my friend Becky today! She owns the Etsy shop Reclaim Essentials, and I love her products. When she offered to do a guest post and giveaway for my readers, I jumped at the chance! I knew that you all would love to learn about her all natural products.

Some of my favorite products from her shop are the deodorant (I love the scent, and it works!), the lotion bar, and the lavender hand soap. The lotion bar has been a true lifesaver – as the weather is cooling off my skin is becoming drier, and it is really keeping my skin moisturized. I love how easy it is to apply, too.
It’s important to me to know what is in the products that I put on my body – I don’t want any parabens or phthalates, thank you anyway!
Everything made by Becky is all natural and gluten free, and many of the products are vegan as well. And bonus, they all smell amazing. The essential oil combinations she comes up with are really wonderful and smell lovely without being overpowering.
Okay, I’m going to step aside now…take it away, Becky!
My name is Becky and I have a confession…I love, love, love great smelling products! Research has shown that our sense of smell can affect our mood. I am living proof of that. As soon as I got my own place in college, I burned strong scented candles and constantly used plug-in air fresheners. Fall and Christmas are times when the spicy scents of cinnamon and clove are in my home. There’s just something nostalgic about them that brings me back to my childhood!
When I started to research how to have a more healthy and natural lifestyle, you can imagine how upsetting it was to discover that those synthetic fragrances in my beloved candles and air fresheners were doing more harm than good for my family and my health. I have to admit, at first I wished that I didn’t know about that information and could just go on using my smelly products without feeling guilty.
Enter essential oils! I kept coming across articles showing how essential oils could be beneficial for your mood and health. So I asked a trusted friend, who is a nurse in the natural medicine realm, what she thought about essential oils. She had just started using them and was very excited to share their benefits with me. Best of all, you could buy a diffuser that would fill a room with the lovely aroma of these little beauties AND they actually clean the air and are beneficial to you! I was ecstatic! Throwing away all those store bought candles and air fresheners, I started making my own candles with essential oils and my friend also introduced me to simmer pots.
These Simmer Pots are so great for your own home during the holiday season and also make wonderful gifts. You place the ingredients in a large mason jar, put some baker’s twine as well as a tag on it and you have a great, thoughtful gift!

Here are two of my favorite recipes:
Ingredients
2 teaspoons clove buds
2 lemons, sliced
2 teaspoons mulling spices
3 or 4 sprigs fresh rosemary
1 teaspoon vanilla
5 drops DoTERRA clove essential oil
5 drops DoTERRA lemon essential oil
2 Cups of water (or enough to fill the mason jar after you add rest of ingredients)
Directions
Add all the ingredients to a pot or slow cooker and heat with low heat. Enjoy!
Note: you do need to pay attention if you put it in a pot on the stove because the mixture will eventually evaporate and then it can leave a very burnt bottom to your pan… I speak from experience on this!

Ingredients
4 Cinnamon sticks
1 large orange, sliced
1 teaspoon mulling spices
1 teaspoon vanilla
5 drops DoTERRA Cinnamon Essential Oil
5 drops DoTERRA Wild Orange Essential Oil
2 Cups of water (or enough to fill mason jar after you add rest of ingredients)
Directions same as above recipe
As you may have guessed, I am a DIY kind of girl. So after I discovered essential oils, I started making all sorts of natural products out of them, such as candles, sprays, cleaning products, lotion bars, beauty products and much more. I enjoyed this so much that I decided to open my own Etsy store: Reclaim Essentials. I opened about a year ago and have loved coming up with different recipes for my handmade items. My items are gluten free and most are vegan.
My most popular sellers are the deodorant creams. I struggled for a long time trying to find a natural deodorant that actually did the job. It took a lot of batches to come up with my currant recipe but I love it! It comes in two scents: Refreshing Citrus and Cedarwood Bergamot. Another popular seller are my essential oil roller bottle blends. My favorite roller blend is the “insomnia” blend. I keep it by my bedside and roll it on my wrists and the bottoms of my feel every night and it smells amazing!
I also have started making some Reclaimed Wood signs for my shop. If you saw my house you would know my love for reclaimed wood and barn wood because it is everywhere! I love creating rustic, distressed signs for your home! There are many Fall and Holiday styles available.
I love that Etsy gives Moms like me a chance to share my creativity with others while still being able to spend time with my family and have flexibility with my schedule. I’m so thankful for this opportunity!

Guest post by Cheyenne Bell of Girl v. The World
As a girl, I remember being dismayed by the appearance of small white bumps that appeared on the back of my arms and wouldn’t go away for anything. At the time, I didn’t know what it was, but now I know I was battling keratosis pilaris, or the dreaded “chicken skin” condition.
According to the Mayo Clinic’s website, “[k]eratosis pilaris…is a common skin condition that causes rough patches and small, acne-like bumps, usually on the arms, thighs, cheeks and buttocks.”
More often than not, the condition is nothing more than a nuisance to the person suffering from it and it is often outgrown by the time the sufferer is an adult. This was true in my case.
But when I noticed my two year old daughter had the same condition on the backs of her arms and her thighs, I didn’t want her to suffer the same embarrassment I did so I started researching natural ways to treat it.
I found a combination of gentle exfoliation and consistent moisturizing helps reduce the appearance of KP.
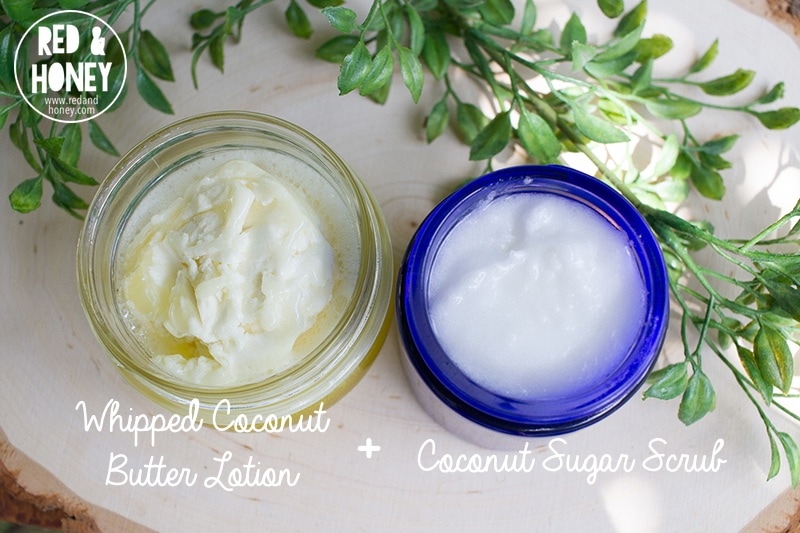
It also turns out that coconut oil is one of the best treatments for it. So I got to work making a special scrub and lotion and thought I’d share it here with you.
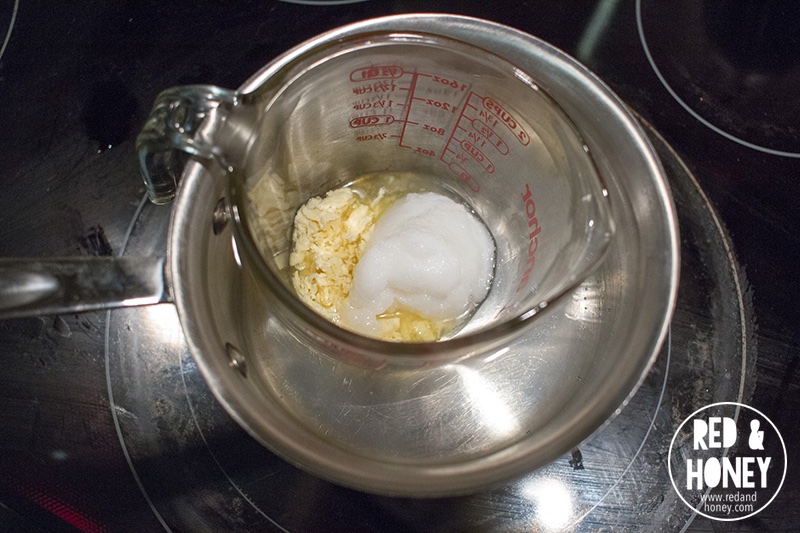
I combined 1/4 cup cocoa butter and 1/4 cup coconut oil in a glass measuring cup and placed the cup in a pot of simmering water on the stove (a lazy girl’s version of a double boiler). Once the two ingredients were melted and combined I let the concoction rest until it was cool to the touch.

Then I put it in the fridge for about an hour so that it became firm, but not hard, and it looked more like a solid than a liquid.
Using my handy immersion blender with the whisk attachment I whipped the heck out of the stuff until it became light and peaks began to form.
Halfway through the whipping process I stopped and added my chosen essential oils. I used about 15 drops of lavender and 8 drops of melaleuca (tea tree oil). Both are known for their healing properties, especially for skin conditions.
I also added a few drops of my favorite essential oil company’s calming blend because it promotes sleep (anything to help my toddler sleep is golden in my book!).
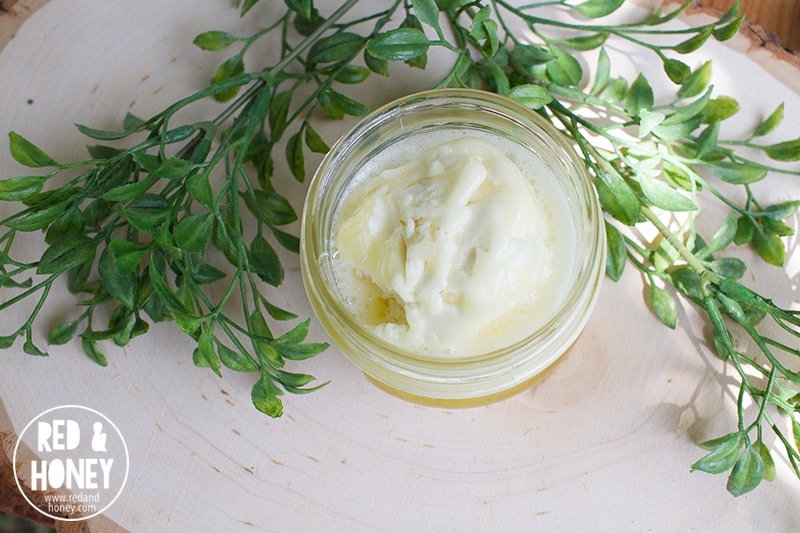
Finally, I transferred the lotion into a clean glass jar. Be sure to keep the lotion in a cool, dark place as coconut oil will become a liquid just above room temperature.
Use the lotion once or twice a day on affected areas, especially after bathing or showering.
Making this scrub is so easy. I combined 4 tablespoons of granulated sugar to 4 tablespoons of coconut oil and mixed it up until it became the consistency of a thick slushy.
I then added 8-10 drops of geranium and 5-6 drops of helichrysum essential oils.
There are several companies that produce high-quality oils, but my personal choice for high quality + excellent pricing is Plant Therapy, available on amazon.
Check out their essential oil starter set here, as well as their starter set for popular blends. They offer a fabulous Kid-Safe line as well – see the Kid-Safe starter set here.
I transferred it to a clean jar and it’s ready to use! Use it every time you bathe or shower. Rub it gently on the affected areas and let it sit for a few minutes so the steam can help the oils soak into your skin.
That’s all there is to it! I just started using this on my daughter but already her skin seems smoother. Fingers crossed that we can keep the dreaded “chicken skin” at bay until she outgrows it!

Cheyenne, a photographer and SAHM, resides with her amazing hubby, two crazy kiddos, a Border Collie and two evil cats in the suburbs of Houston, Texas. Besides photography, her greatest passions include lots of coffee, autumn, flea markets, vintage finds, old books and red wine. When she’s not wrangling babies or shooting them (with her camera, of course) you can find her over at her blog, Girl v. The World, where she writes about everything from DIY, decor, motherhood, and healthy living, to the occasional product review or giveaway of things she loves.

Guest post by Cheyenne
As a mom of a very hungry toddler, snacks are something we just can’t live without. Since she’s been able to feed herself, Aislin has always used one of those snack cups with the plastic lids that she’d just stick her hand in and grab a handful of cheddar bunnies.
But those cups soon became the bane of my existence. They did not fit nicely in my bag and all the crumbs would inevitably find their way out of the opening and into the crevices of my purse. I needed something different, something convenient, something simple and toddler friendly. Naturally, I consulted Pinterest. (C’mon, you do it too!)
Briefly, I had considered using plain old plastic baggies but I didn’t like the thought of using all that plastic and, frankly, I’m kind of cheap. Using plastic baggies for every snack would get expensive quickly.
When I came across some Pins of reusable snack baggies, it was like a light bulb lit up over my head.
That’s what I needed! I looked at about a dozen different tutorials but none of them were exactly what I wanted: easy to make, easy to use, no zippers or Velcro, machine washable, cute, toddler friendly. So I did what I normally do and made my own design.
In the interest of full disclosure, I warn you that I am not a very good seamstress. I am really good at sewing a straight line, but that’s about it. So don’t worry if you aren’t good at sewing.
If I can do this, so can you. I promise. Just give it a shot!
Note: generally, you should wash and press all your fabric before you begin a project. In this case, it’s a good idea to do so with your cotton fabrics, but the ripstop doesn’t need to be washed.

The first thing I did was cut my fabric into rectangles 12″ long by 7″ wide. This will leave you with a snack bag around 5″ X 6″.
I also cut my ripstop fabric to the same dimensions.
When I cut fabric, I use a cutting mat, a cutting ruler (I don’t know what it’s actually called; it’s a long, wide ruler type thing used by quilters…proof I am not a pro at this), and a rotary blade.
You can use whatever is easiest for you!
Once all my fabric was cut I took one of the cotton rectangles and one of the ripstop rectangles and placed them right-sides together. I squared them up and began to pin around the border.
On one of the long edges I left about a 2″ gap between pins to remind me that I will keep that gap open so I can turn my snack bag right side out eventually.
Start sewing! Starting at one of those pins that indicated where my gap would be, I started sewing leaving 1/4 seam allowance. Remember to reverse stitch a couple of times at the beginning so your stitches don’t unravel.
I made my way around the entire rectangle and when I came to the other pin that marked my gap I stopped and reverse stitched. You should now have the two pieces completely sewn together except for that 2″ gap on one of the long edges.

Next, carefully cut the corners off the rectangle, but be sure not to cut your stitches! Cutting the corners helps to make sure the corners of your final piece are nice and pointy when you turn the fabric right side out.
Turn your fabric right side out and push the corners out with your pinky finger or a small awl.
Take your rectangle over to the ironing board and iron out all the wrinkles. Be sure to iron the cotton fabric side, not the ripstop side.
Also make sure the seam allowance of your gap is folded in. Ironing helps make the fabric nice and flat and also makes it easier to sew in the next step.
Once your rectangle is nice and ironed, place it ripstop side up on a flat surface and fold one of the short ends up toward the other short end, leaving about two inches at the top.

Then fold that remaining two inches down over the other end, creating a flap. Your rectangle should now look like an envelope. Pin the flap in place and head back over to your sewing machine.
Place one of the short edges under the needle and getting as close to the corner and edge as possible, begin your stitching (remember to reverse stitch). Continue down the edge and sew the entire side shut (including the flap). Do the same thing to the other side.
All done! You’ve made your very own reusable snack bag!
To open the bag, you just flip the flap up and push out the corners. Fill it with your kiddo’s favorite snack and you’re good to go!

Note: These are not water proof, so if that matters to you, you might want to use PUL or vinyl for your lining fabric. For me, it’s not a concern, so these little baggies will work just fine!

It looks like my little fairy princess approves! What do you think? Easy, right? You could probably make at least three of these during nap time once you get the hang of it. I would love to see how your reusable snack bags turn out!
_______

Cheyenne, a photographer and SAHM, resides with her amazing hubby, two crazy kiddos, a Border Collie and two evil cats in the suburbs of Houston, Texas. Besides photography, her greatest passions include lots of coffee, autumn, flea markets, vintage finds, old books and red wine. When she’s not wrangling babies or shooting them (with her camera, of course) you can find her over at her blog, Girl v. The World, where she writes about everything from DIY, decor, motherhood, and healthy living, to the occasional product review or giveaway of things she loves.

I may receive a commission if you purchase something mentioned on this page. See more details here.
Don't you love it when you are using a product in your home that you have bought for years and think, “I bet I could make this”?? I have slowly been detoxifying my home over the last few years. It is hard to do it over night. So, I am doing one thing at a time. Early on it was finding dryer balls to replace my dryer sheets and fabric softener. Then I started making our own body soap. Just the other day I ran out of dish soap and decided to make my own! These things are so easy to make at home and so much better for our bodies! Does this task seem completely overwhelming to you? Don't worry, we've got you covered. Check out our PDF that can walk you through this journey, step by step! Easy Peasy!
Anyway, my little Sassafras is really excited about her new hair detangler that I made for her. This recipe took about 2 minutes to make and now my daughter is much more excited about brushing out her tangled hair in the morning. Or afternoon. Or whenever it needs brushing. In fact, just this evening after returning from swimming, she went into her bathroom, sprayed her hair and brushed out her messy tangles. All without me asking her to. Love this stuff!
Did I tell you that it smells divine?? The combination of essential oils is just lovely and my daughter thinks it is special and pretty. Yet again, I am amazed at all of the uses I am finding for my Young Living Essential Oils.

See that awesome bottle right there? That is holding the hair detangler I made! The lovely people at SKS Bottle and Packaging have offered a 10% discount on this great 2 ounce bottle!! Simply use the coupon code SKSCoupon06 when purchasing this 2 ounce green round bottle item #0034-08.


I don’t know about you guys, but this weather is killing me. Here in Texas we are experiencing the pleasure of going from near-freezing temps to 80 degrees in a matter of days. And it keeps going back and forth like that. Needless to say, mine and my kids’ allergies are KILLING US.
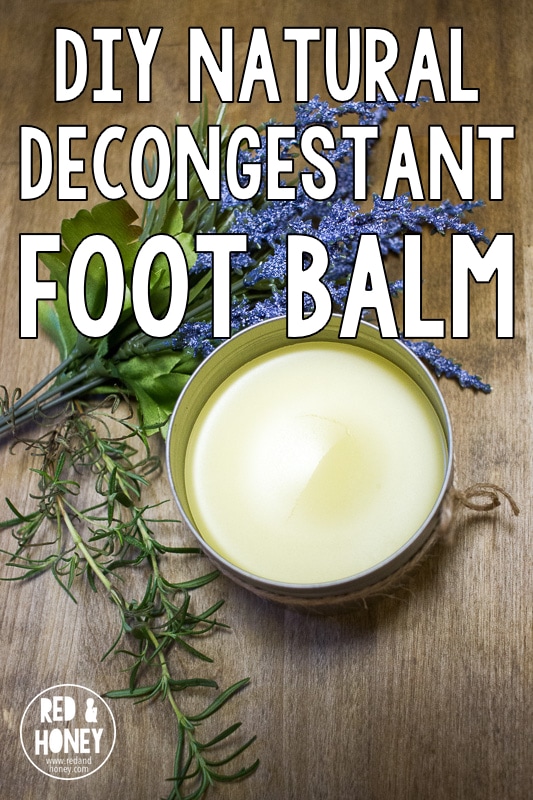
Thanks to our super-awesome drunk weather, one or all of us have been battling hacking coughs and stuffy noses for nearly two weeks now. A few nights ago, I’d had enough and decided to make some all-natural decongestant foot balm to try to help us all sleep a little better at night.
Mamas – did you know that the best way to use a decongestant balm is to slather it on your (or your child’s) feet and put socks over it? I learned that neat trick my first year as a mom and it is a game-changer. Seriously, try it. You’ll thank me.
Anyway, here’s how I made this easy decongestant foot balm (it can also be used to soothe dry, cracked skin on the feet…sexy, I know):
1/4 cup olive oil
1/4 cup almond oil
1/4 cup coconut oil
3 tablespoons beeswax pastilles (where to buy)
1 tablespoon shea butter (where to buy)
Contents of 3 vitamin E capsules (where to buy)
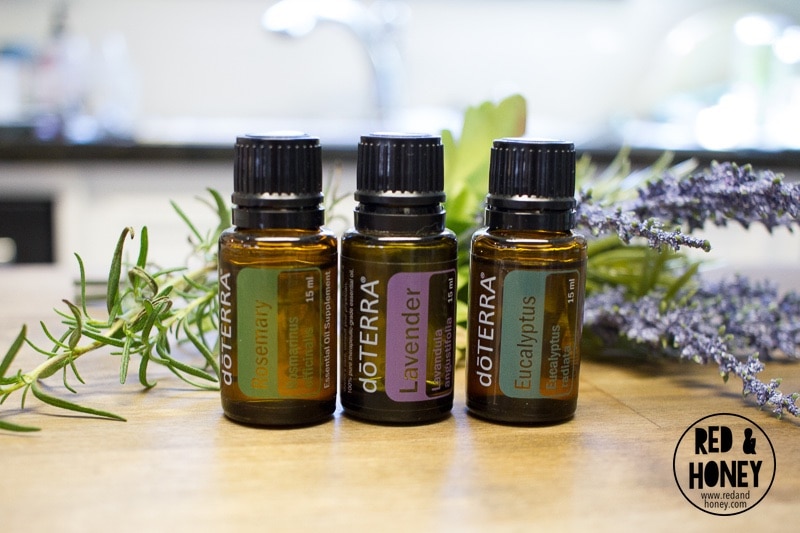
25 drops lavender essential oil
10 drops rosemary essential oil*
5 drops eucalyptus essential oil*
Note: Rosemary and eucalyptus essential oils are not recommended for small children according to some sources. A company that I have recently come to admire, Plant Therapy, has a line of Kid-Safe oil blends, one of which is the Sniffle-Stopper Blend, available on Amazon. If you plan to use this balm on children, I recommend replacing the three oils in the recipe with the Plant Therapy blend, or the individual oils in it, if you already own them in a brand of high quality.
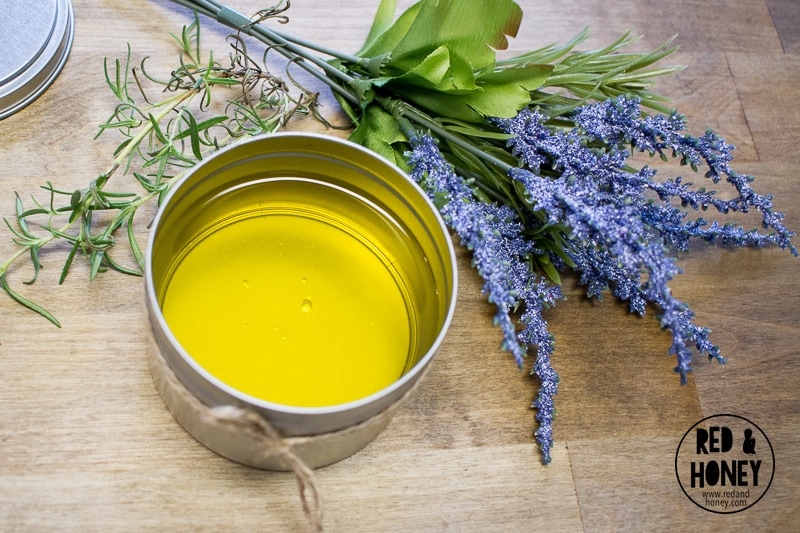
Put all the ingredients (except the essential oils) into a double boiler (or you can use a glass jar or cup placed in a pot of water, like I did) and melt the ingredients over low-medium heat. It may take a while for the beeswax pastilles to melt. Be patient and stir occasionally.
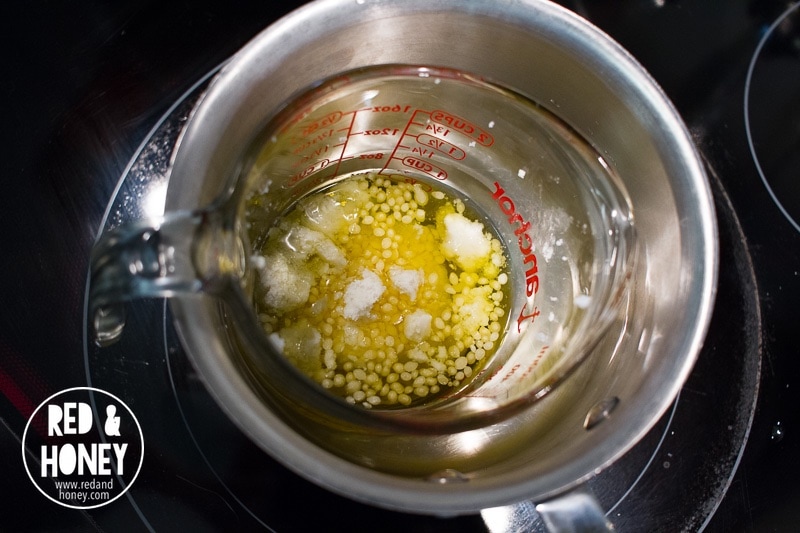
Once it’s all melted together, give it a good stir and take it off the heat. I let my mixture cool for just a bit before adding the essential oils.
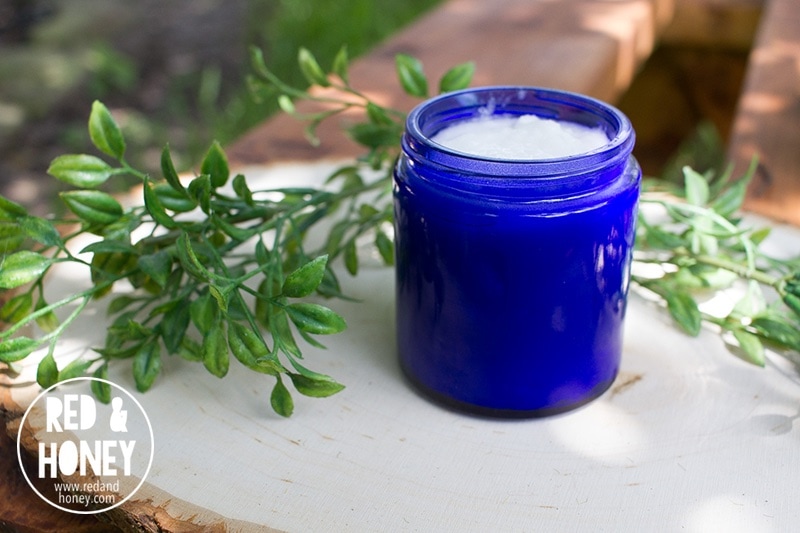
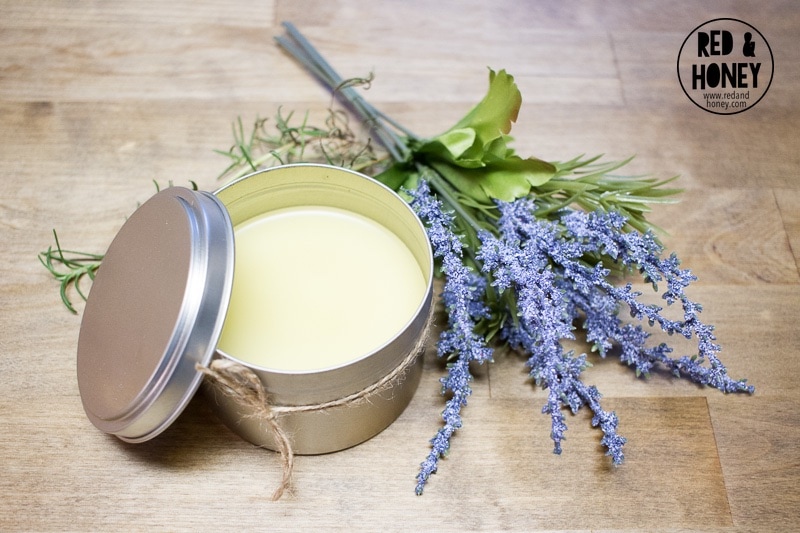
Once the essential oils are added, give it one more stir and then pour your mixture into a clean jar or tin (this will make about a cup of balm, so you could make several smaller tins to keep in different rooms of the house for easier access).
I stuck mine in the fridge for a few hours to aid in the mixture hardening. Once the mixture has turned solid, you’re good to go! To use it, rub a dime size amount on the bottom of your feet, cover with socks and get some sleep!
I hope this helps you and your little ones breathe better at night! Hopefully, this confused weather will figure itself out and we can all start feeling normal again, right? Here’s to hoping!
Summer is here, and with it comes a slew of new “friends,” some of whom are a tad too friendly for my taste.
Down here in the South, we’ve been dealing with some of these friends for far too long already. The beginning of April saw the fire ants coming out to play, and by the middle of the month we were being visited by the ever-friendly mosquitoes.
Though I do use homemade bug repellent on my kids, they often run out to the backyard to play without me spraying them down first. And of course, with four kids opening and forgetting to close back doors all day, there are inevitably a few mosquitoes that make it in the house and devour any unsuspecting victim they may find.
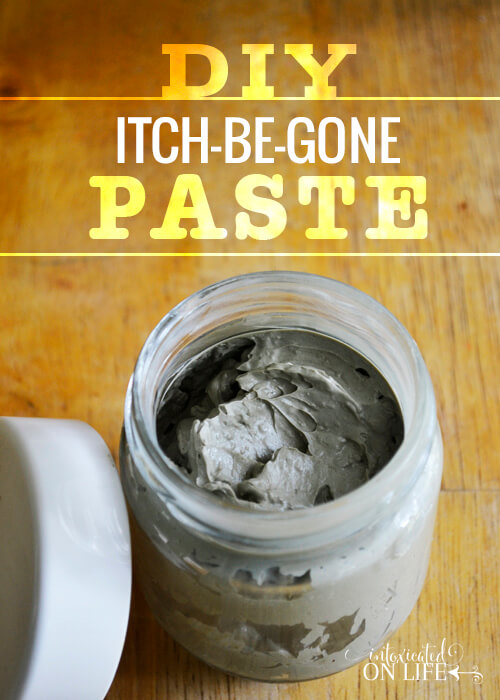
For these times, we thankfully have The Paste. Every child knows where it is located, and applies it liberally to their bites, or in the case of the 2-year old, any scratch she deems necessary.
This simple remedy is super easy to whip up, lasts for months when stored in the fridge, and is easy to apply. Made from only two natural ingredients, water and bentonite clay, it’s safe enough for children and babies. For all you essential oil lovers, you can add a few drops of a soothing/healing oil, like lavender or melaleuca, as well.
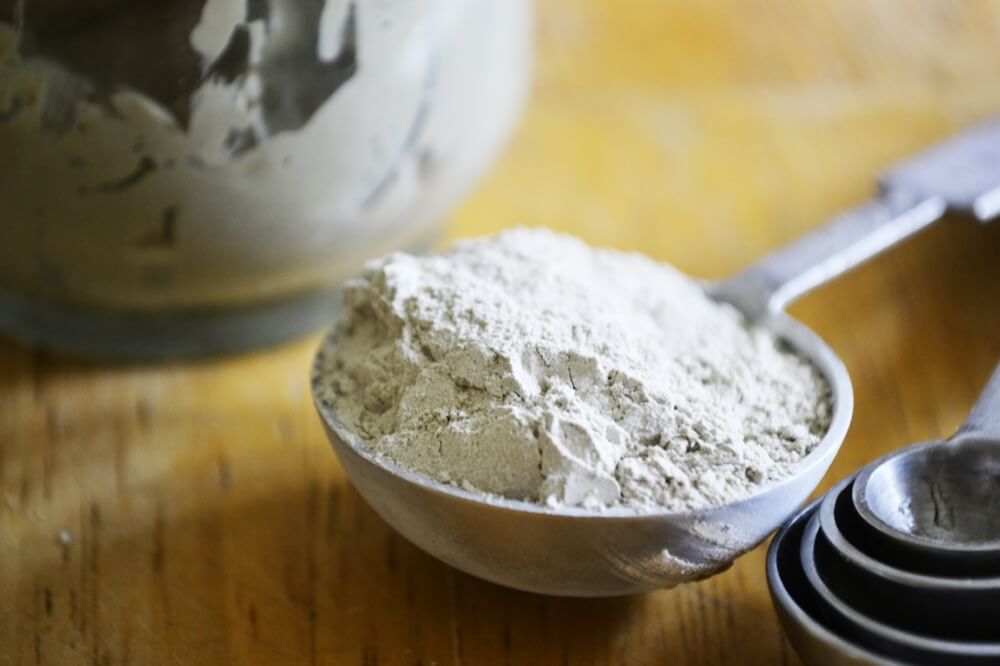
4 T. bentonite clay
6 T. filtered water
optional: a few drops of lavender or melaleuca Essential Oils
In small bowl, combine ingredients with a spoon or fork.
Store in covered container in fridge, or medicine cabinet if your home isn’t too humid.
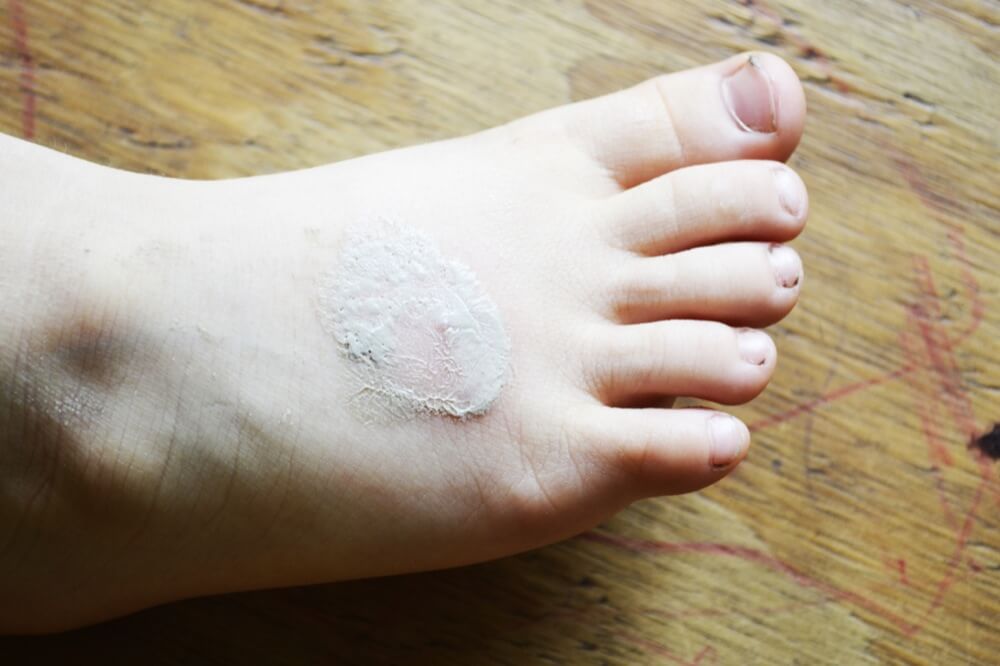
Apply directly to bites and let dry.
Reapply as needed.
Would you like a resource to help you learn to use essential oils with your family? Download this free 3-page printable:
Click the link or image below to download the 3-page Mom’s Essential Oil Cheat Sheet. I’ll follow it up with more resources and free printables to help you on your essential oil journey. Grab your copy now!
*FDA disclaimer: “These statements have not been evaluated by the Food and Drug Administration. This product is not intended to diagnose, treat, cure, or prevent disease.”

Baseball field.
Church.
Theater.
London underground.
Budapest airport.
What do these places have in common? I’ve passed out at all of them because of dehydration.
I also passed out at a concert venue that moonlighted as a strip club (I didn’t want my list to look too scandalous). My brother had a hard time convincing the medic stationed there that I was neither high nor drunk, just really thirsty.
Because of my propensity for passing out, I was more than a bit excited when I got my first hot pink Nalgene water bottle when I was a sophomore in high school – I could always have water with me and not look like a total loser. Water bottles were finally trendy!
With time I learned how to stay hydrated but occasionally it’s still hard for me to keep enough water in my system, no matter how much I drink. When I’m pregnant, sick, exercising or traveling, I need more than just water. Gatorade was my go-to when I required an extra boost and while it worked, I didn’t want to keep putting all those non-real food ingredients into my body, especially when I was growing a baby!
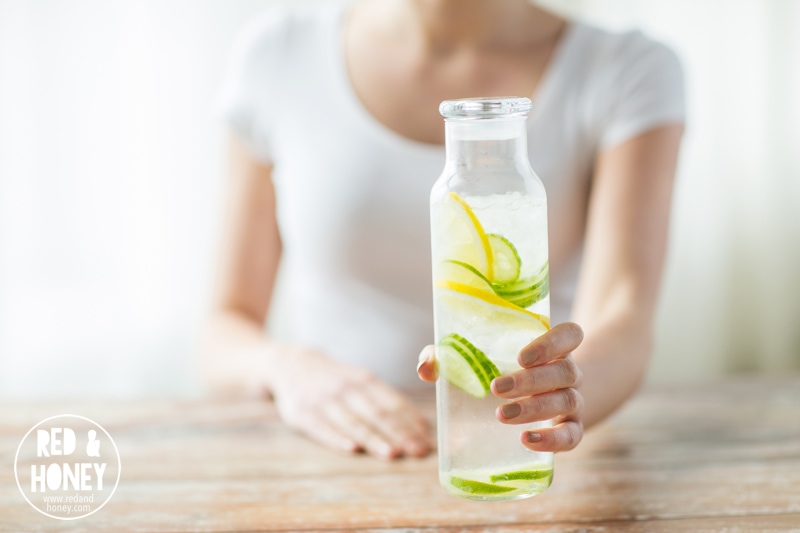
So I set out to make my own electrolyte drink – essentially a DIY pedialyte. As it turns out all you really need to add to water to boost your hydration is a bit of real salt, like sea salt or Himalayan pink salt or Redmond Real Salt. The minerals in the salt create the electrical charge that slows the absorption of water into your body and allow it to capture more water before it passes through your system.
Salt + water = hydration. Simple enough, huh?
But, seriously though, who wants to drink salt water? It just doesn’t taste good!
So I added a pinch of Himalayan pink salt to a quart of water, splashed in lemon and lime juice and, for good measure, a scoop of magnesium powder and, voilà!, I wasn’t thirsty anymore.
This electrolyte drink may be used to replace:
You could change out the type of juice depending on your flavor preference or make it even more hydrating by using coconut water – it already has sodium and potassium.
I drink a quart of this every day and two quarts when my body is extra strained. It really helps me to stay hydrated and not feel thirsty. My kids love it, too, and since it’s made with all natural ingredients, I am happy to share!
Disclaimer: I am not a doctor and am not giving medical advice. The information here is for educational purposes only.
Affiliate links are used in this post. Your price is the same but I get small amount to help keep the lights on around here and continue to bring you excellent free content. It’s a win-win! Thanks for supporting small business by shopping through my link. xoxo